Steps to upload file to AWS S3 |
|
 |
|
SprigHub01-07-2022 |
|
In order to upload the files to S3 bucket, you need to have an AWS account.
If you already have an AWS account, please email Sprighub team to give required permissions to your AWS account ID in order to upload the files to Sprighub S3 bucket. Please email us your AWS account ID to support@sprighub.com
In case you do not have an AWS account already, please follow the steps below to set up one:
Steps to setup AWS Account:
- Sprighub will send you an email with a CSV file attachment containing all the information related such as AWS login credentials, login URL and S3 bucket URL.
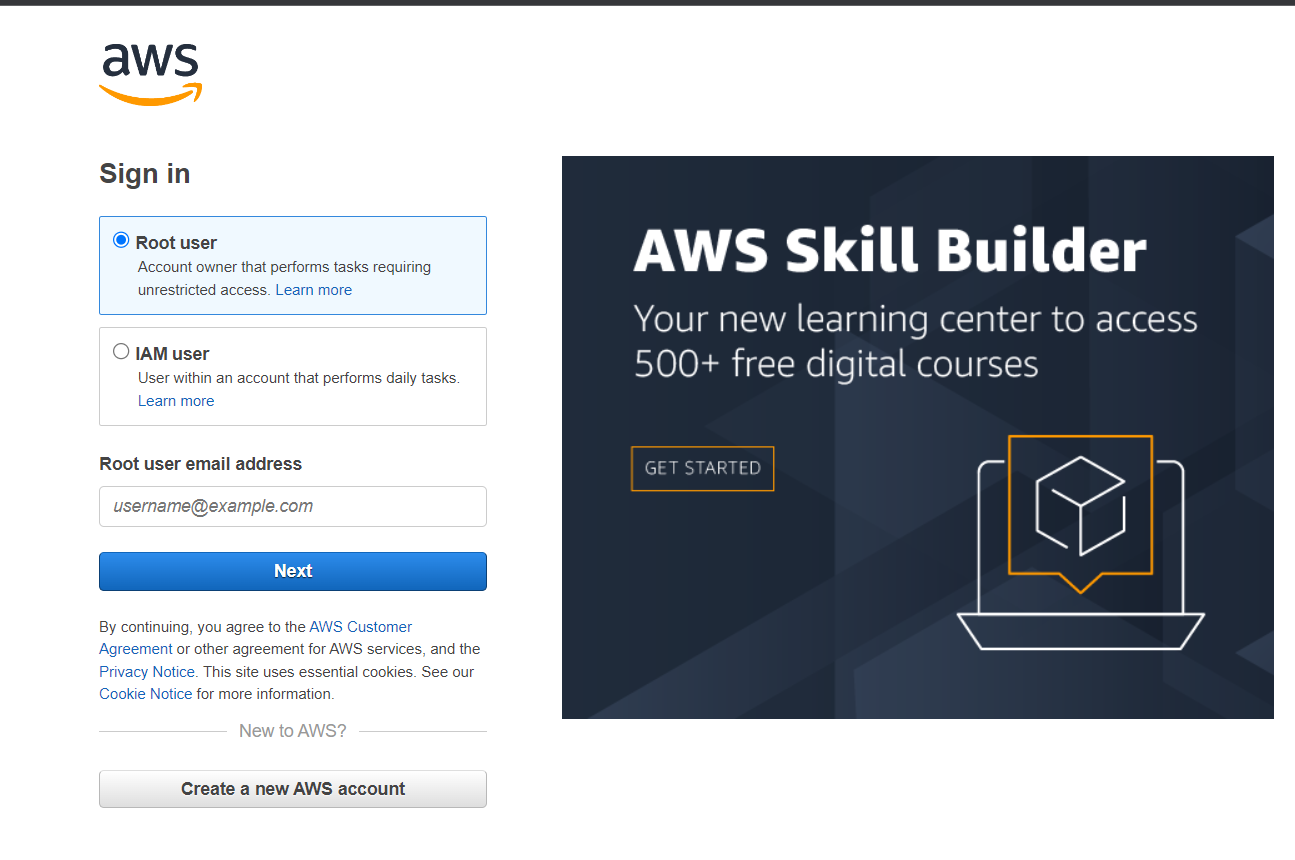
- Go to AWS Console with this link.
- Select the “IAM User” as shown below.
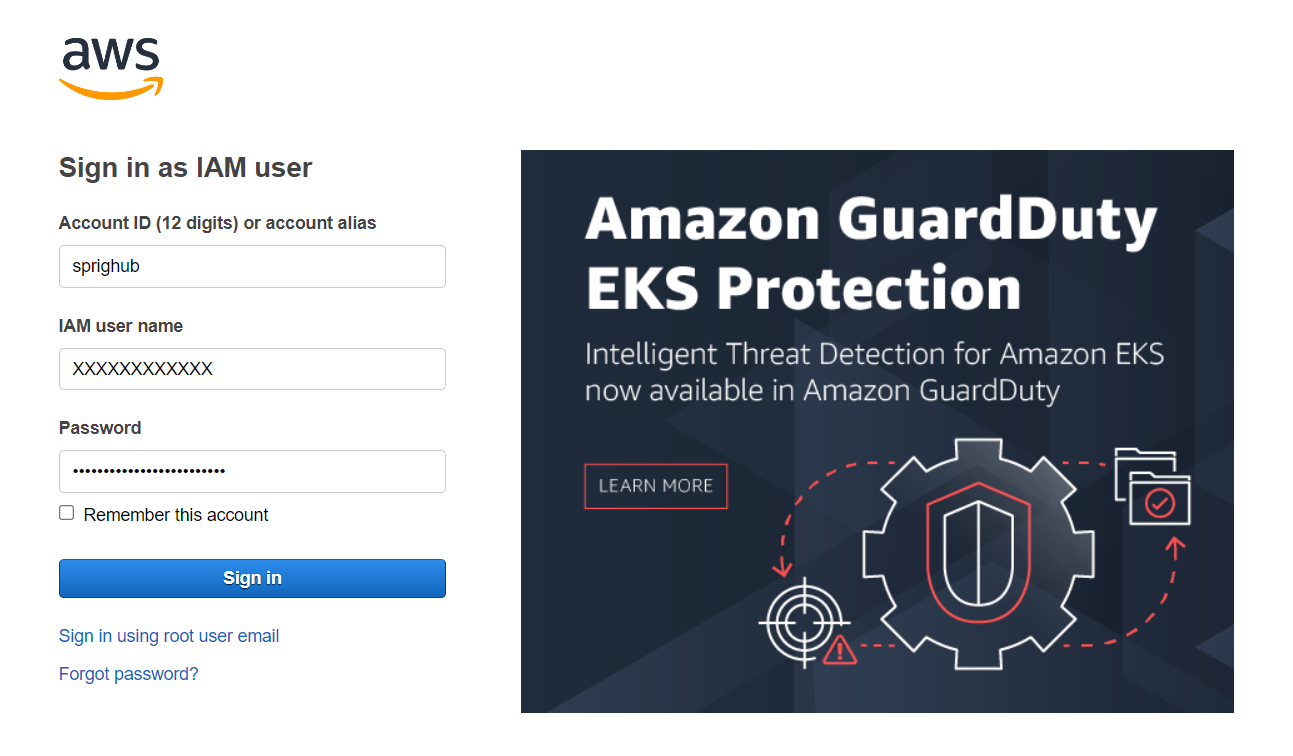
- After selecting the IAM user, enter the “Account Alias” as “sprighub” as shown in the image below.

- Click on Next and enter the username and password as provided in the CSV file in the respective sections, as shown in the image below.
- It will prompt you to change the password after the first login

- Enter the old password as provided in email CSV file and then enter the new password as per your choice, retype the new password and finally click on Confirm password change.
- Now you can login using the new password.
- Save the link given below to reach the bucket every time you login.
URL = https://s3.console.aws.amazon.com/s3/buckets/sutherland-sprighub?region=us-east-1&tab=objects
Uploading Files to S3 bucket
- Click on this link.
- Enter the login credentials if asked
- You will see the AWS S3 console as shown in the image below.
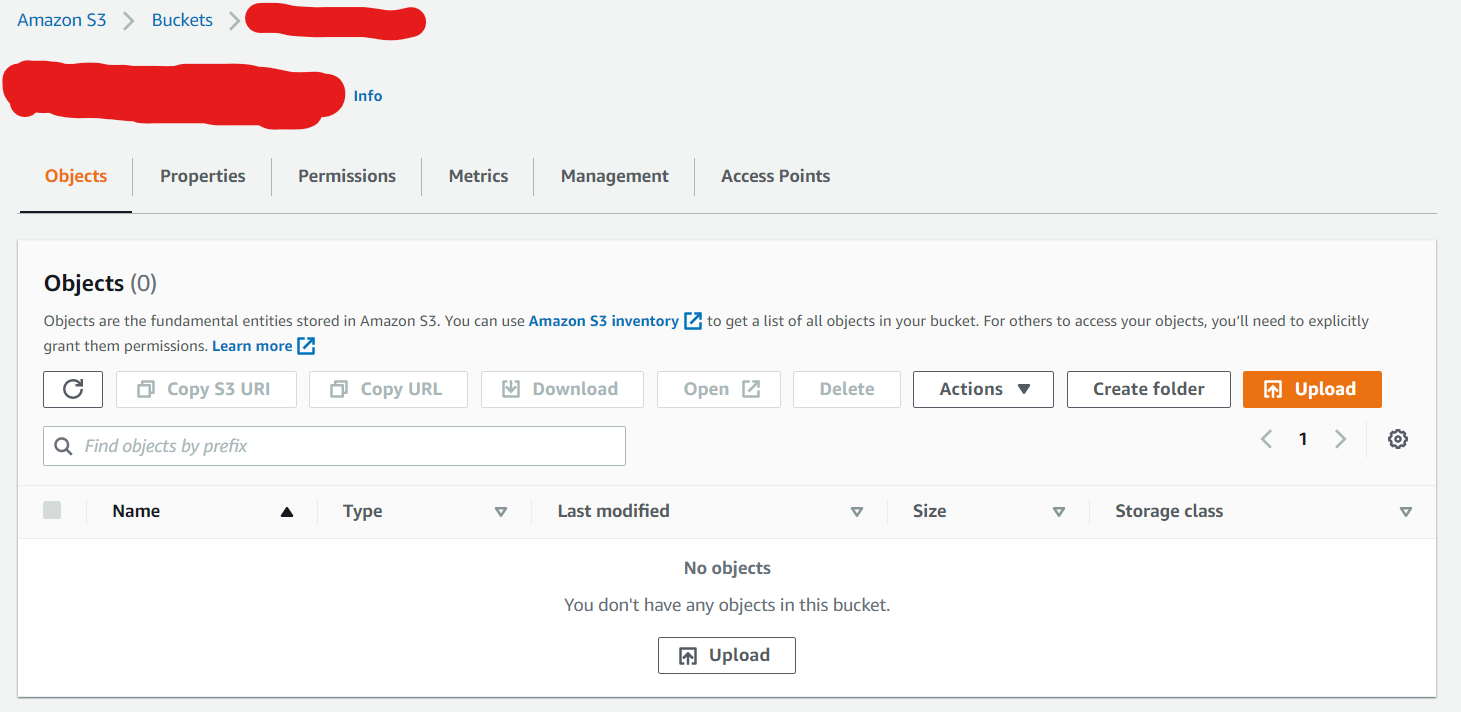
- AWS S3 allows you to upload / delete / rename the files, create the folders and subfolders.
- The max file size to be uploaded to AWS S3 is 160GB.