
Steps for GTM
Introduction:
Google Analytics 4 (GA4) presents hurdles due to the absence of the CustomTask feature, impacting advanced functionalities. Furthermore, retrieving the Client ID and Session ID within GA4’s reporting interface poses difficulties.
One of the biggest headaches is how to collect extremely useful fields such as the Client ID and Session ID, as these are not available by default in the Google Analytics 4 reporting interface.
FETCH THE TEMPLATE AND CREATE A TAG
Go to Templates in the Google Tag Manager UI and Click Search Gallery.
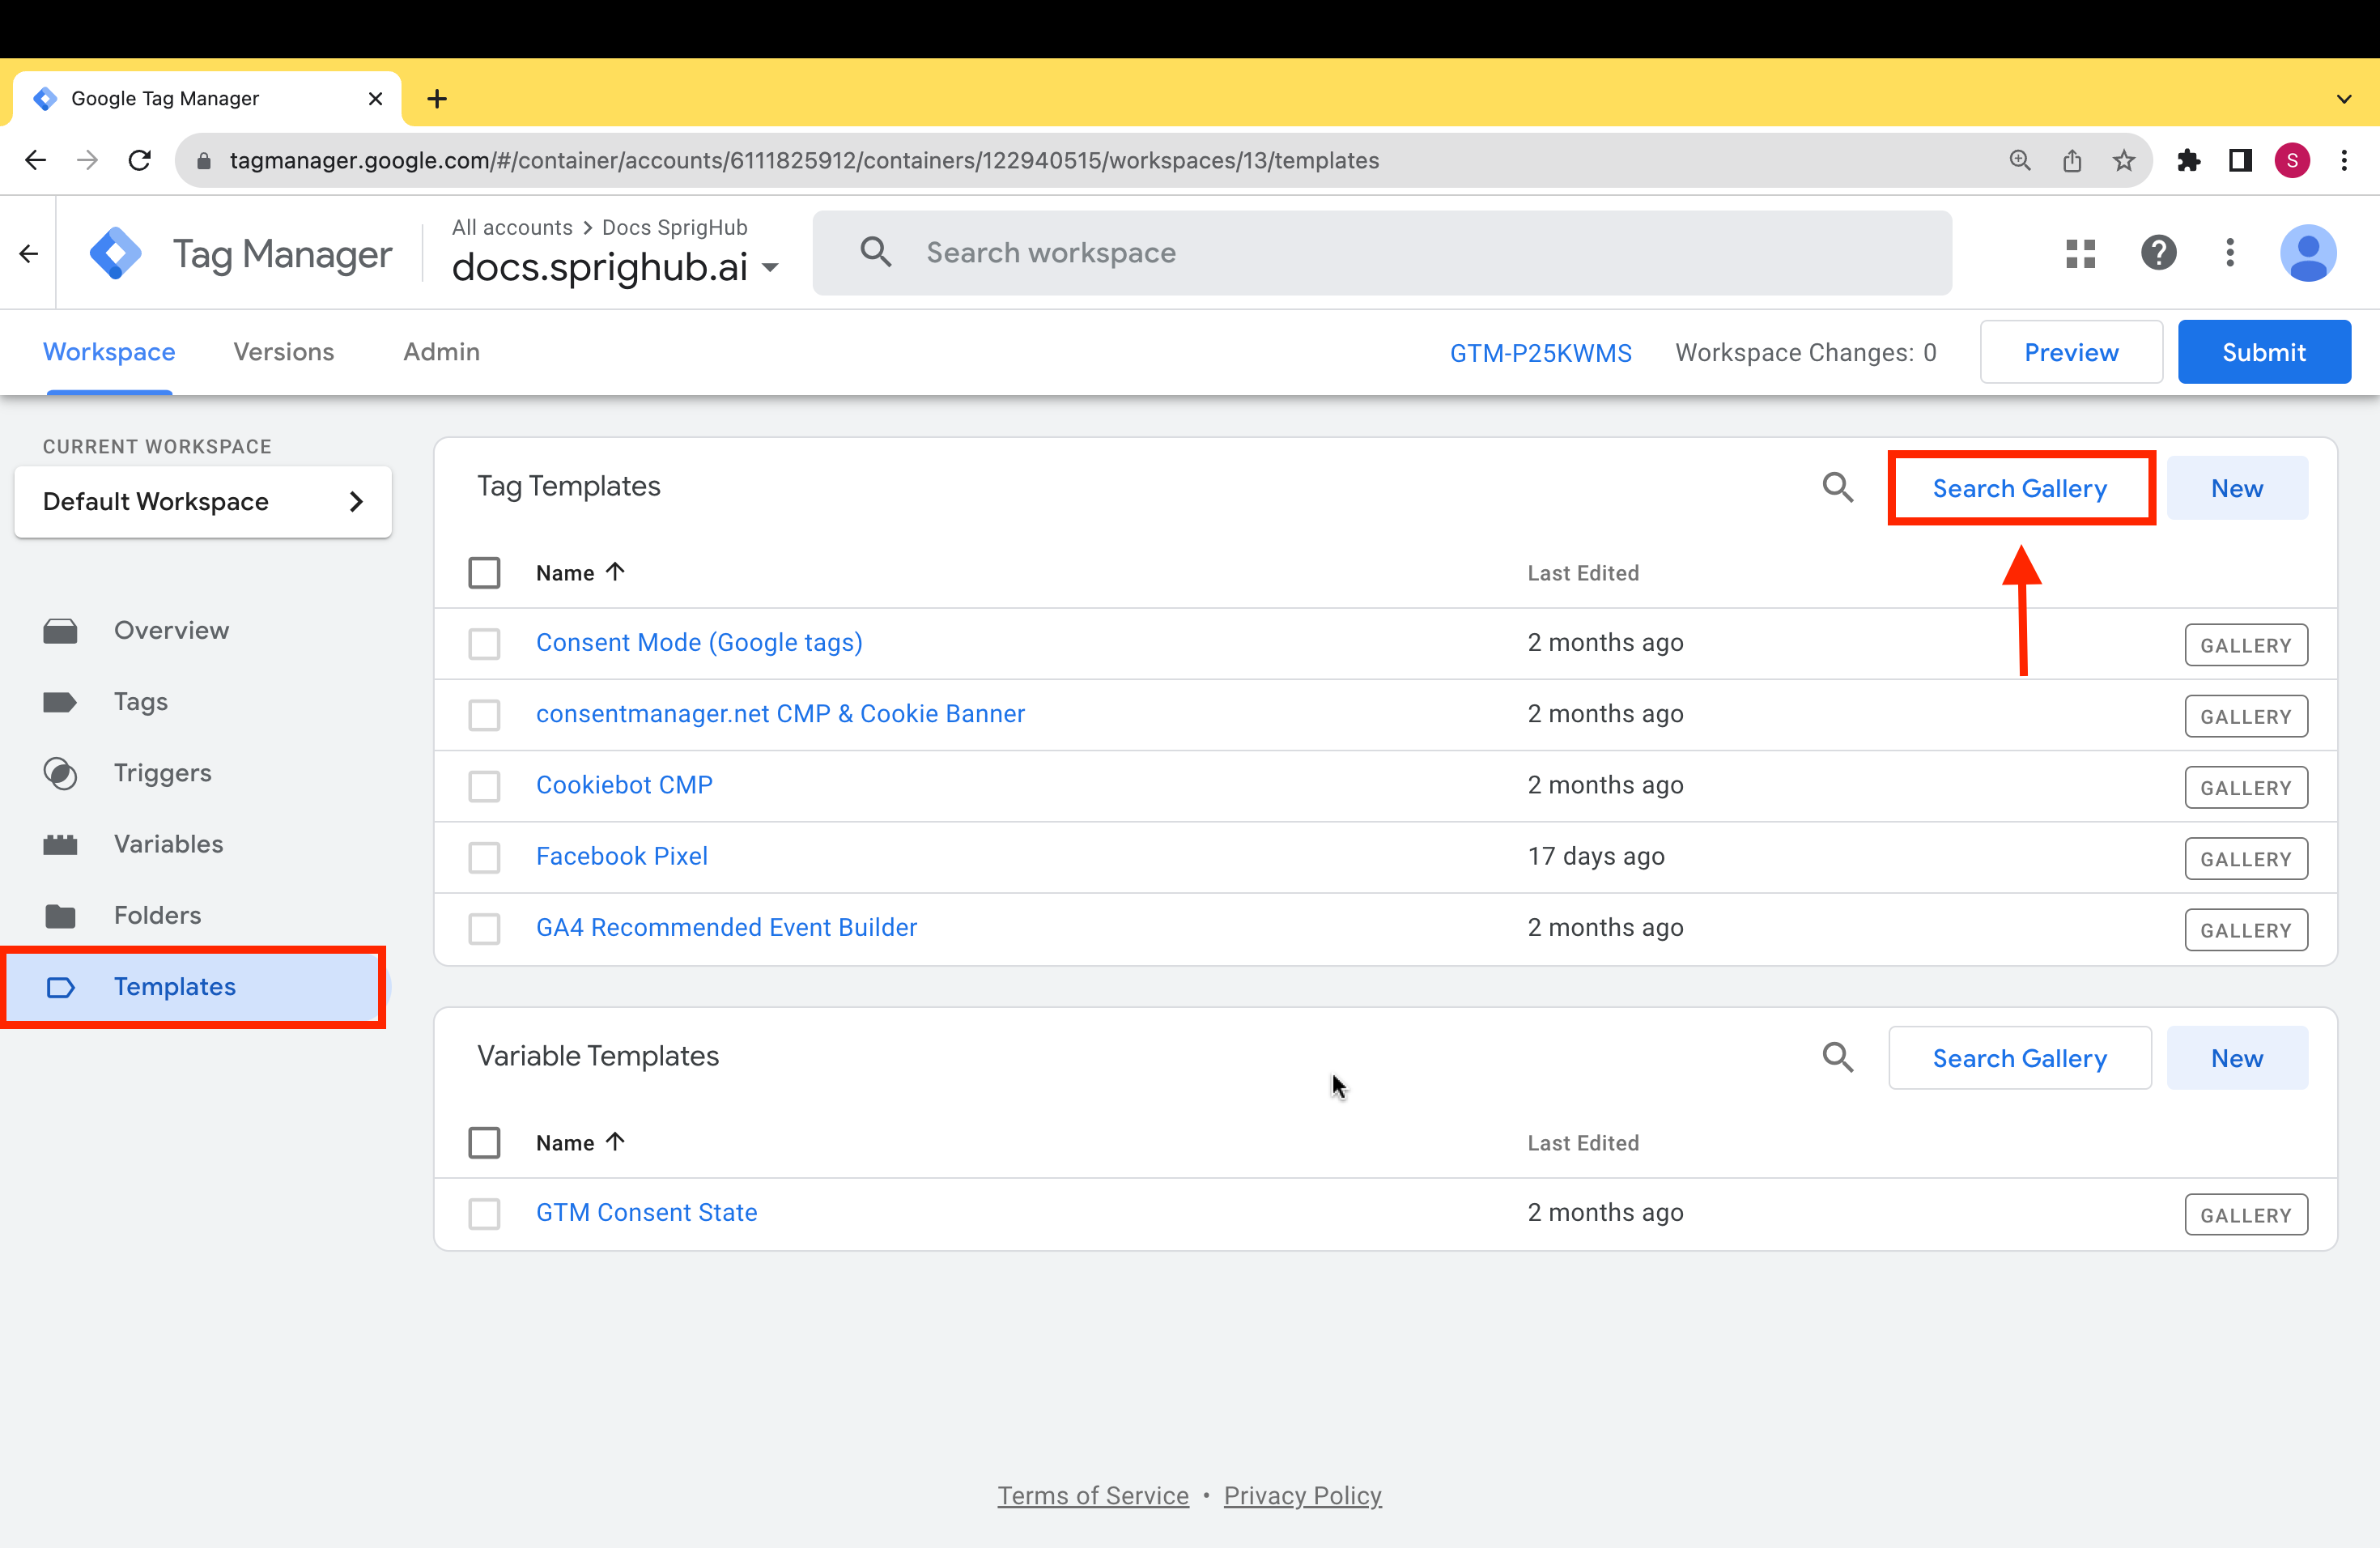
- Search the GTag Get Api from Search Icon.
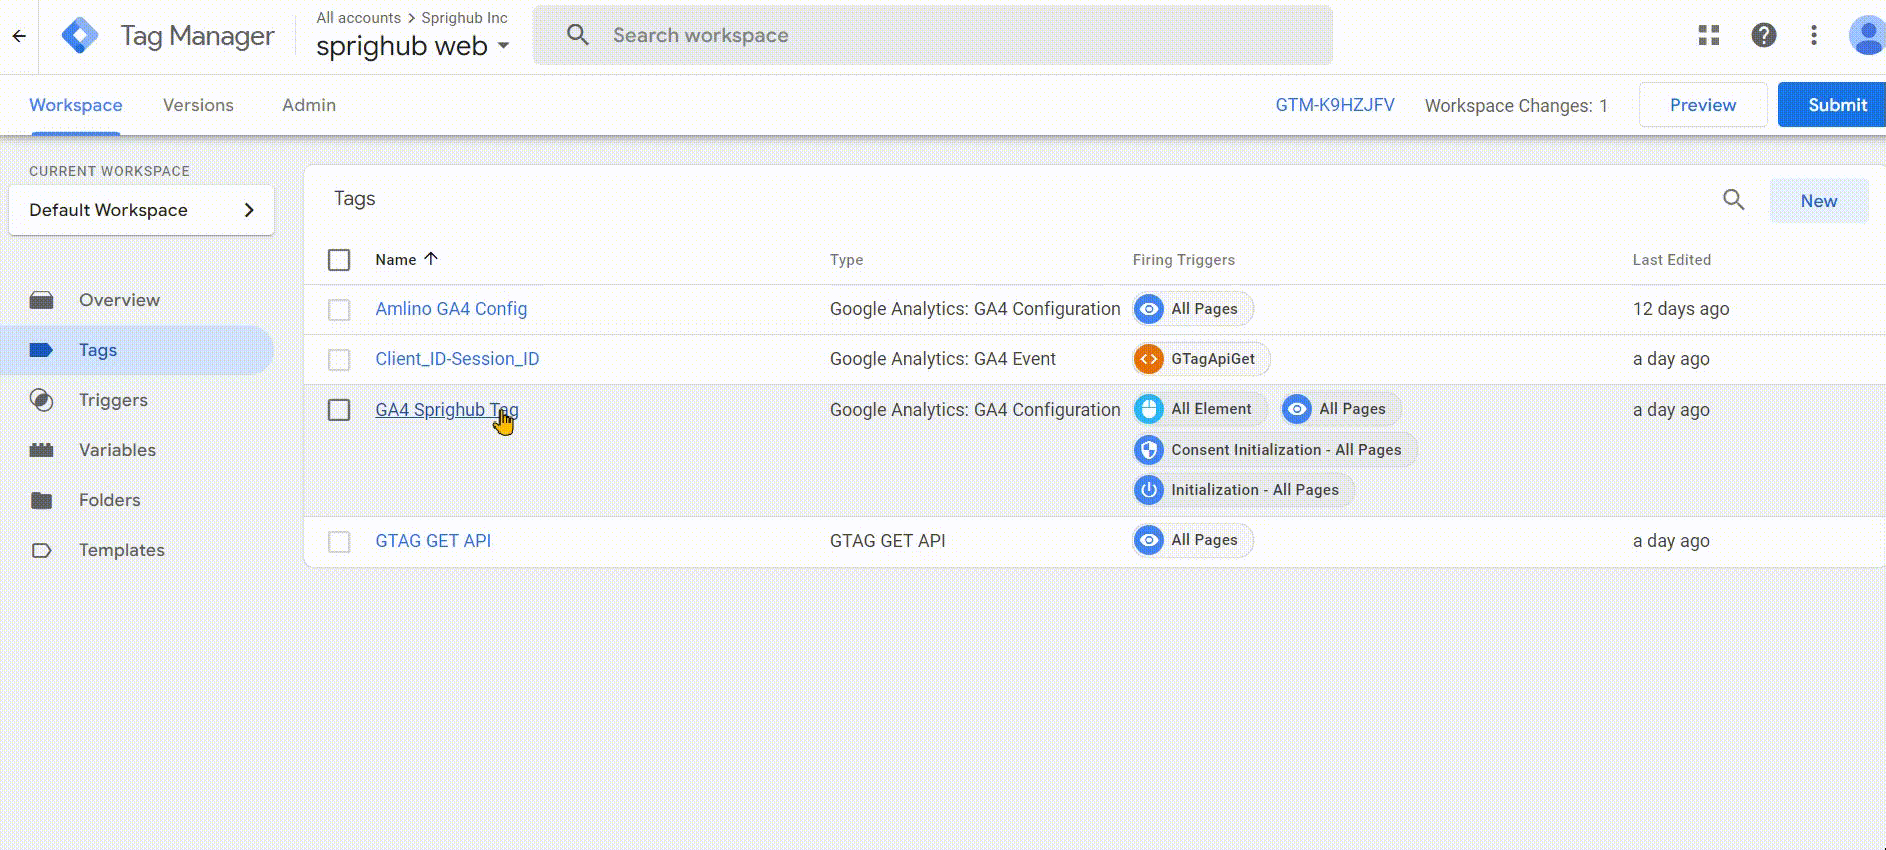
2. Go to Tags and create a NEW Tag.
3. Use GTAG GET API as Tag.
Note: Use the GA4 Measurement ID which is available in GA4 Config Tag.
4. Go to GA4 Config Tag > Tag Configuration > Advance Settings.
5. In the Advance Settings > Tag Sequencing > Tick the following options:
- Fire a tag after GA4 Sprighub Tag fires.
- Select the GTAG GET API From the drop-down.
7. You will be able to see this in Preview till now.
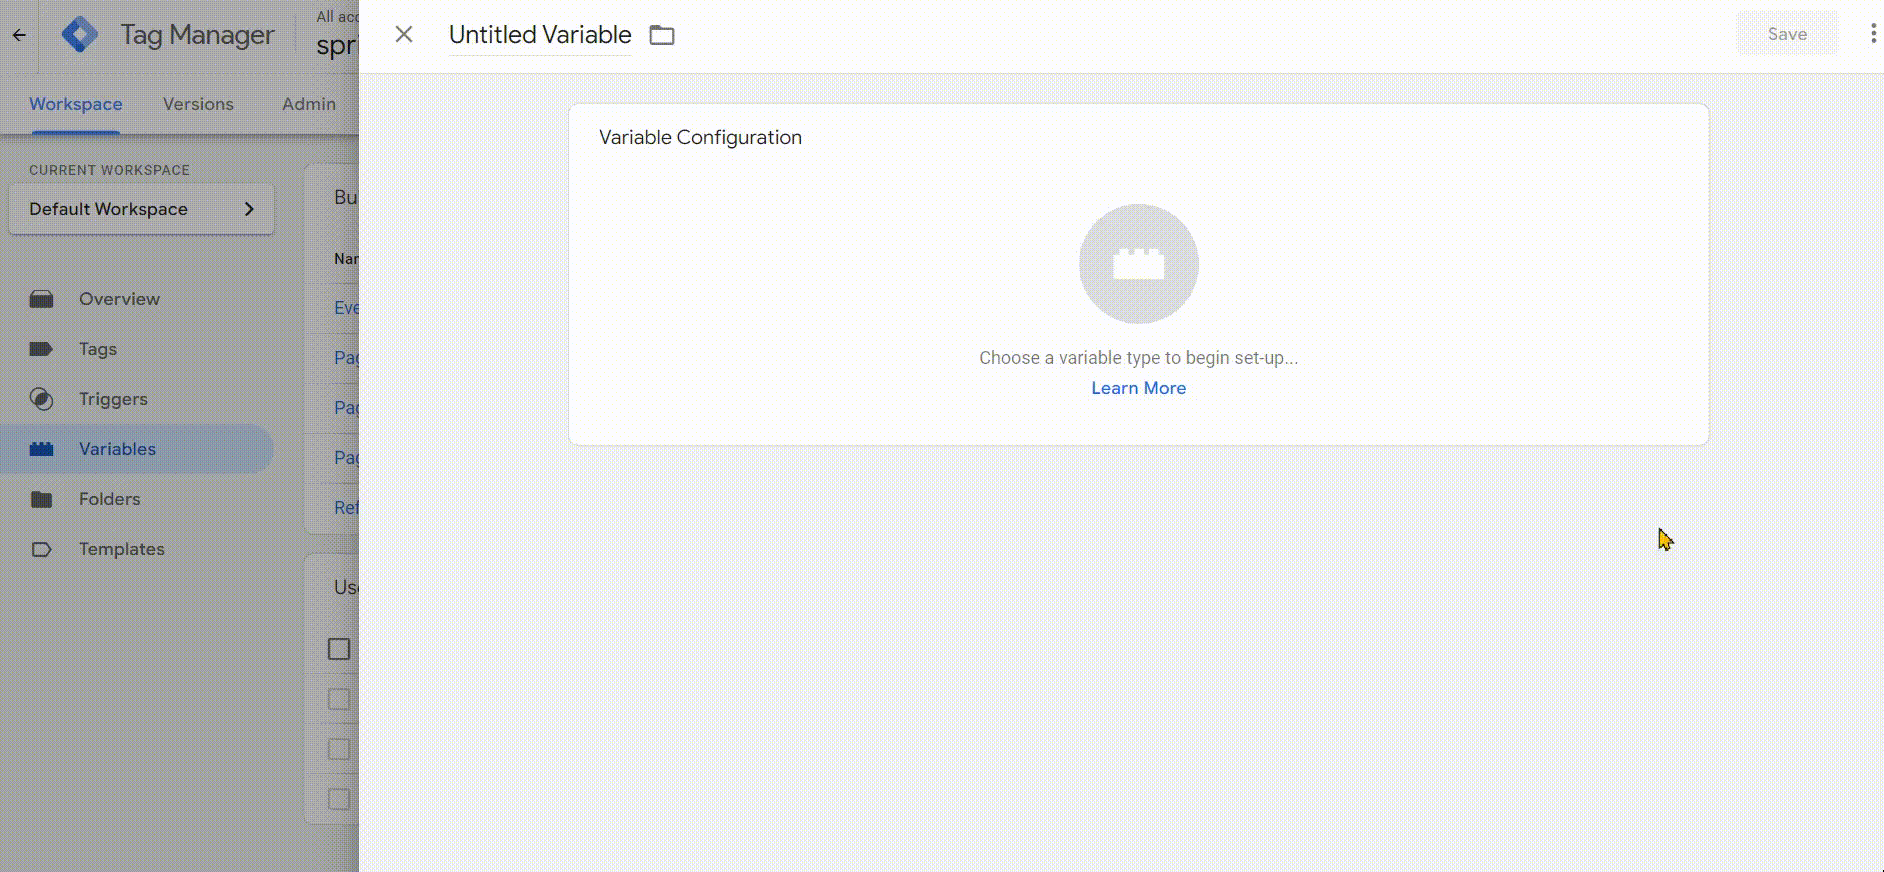
8. Create a Variable for Both Session ID and Client ID to Get the Data from the Data Layer to Variables.
9. Go to the Variable and Add New Variable.
10. Select the Variable as Data Layer variable and Enter the gtagApiResult.client_id in the place of name.
11. Same Way Create the Session ID Variable with the name as gtagApiResult.session_id.
12. After creating both variables, go to the Triggers and Create NEW.
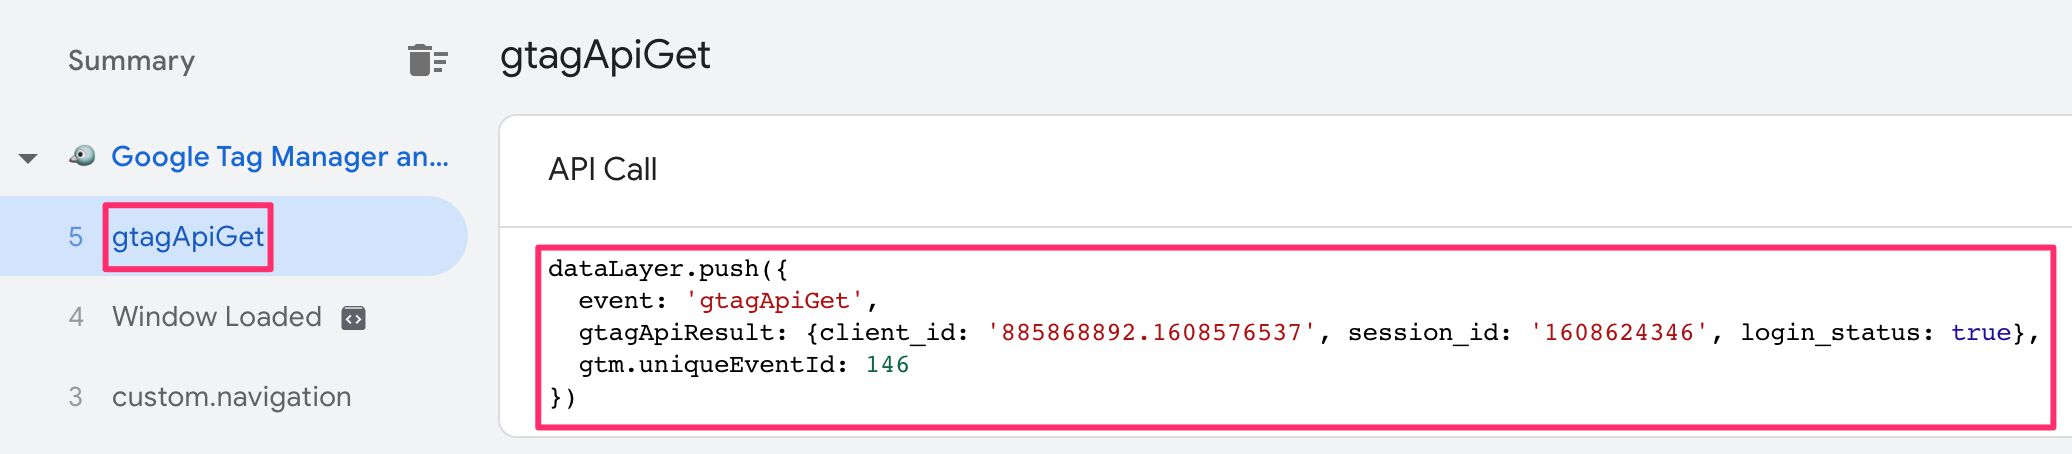
13. Enter the Event Name as Following: gtagApiGet
14. Now Go to the Tags and Create New Event Tag.
Copy the Following Values Required for Event Tag Creation.
User Properties Name | Value |
custom_client_id | {{Custom_Client_ID_Variable_from_DataLayer}}. |
custom_session_id | {{Custom_Session_ID_Variable_from_DataLayer}} |
15. Give the Event Name and copy paste the user properties from above.
Steps for Google Analytics.
1. Go to Google Analytics.
2. Select Admin Section > Select the Property > Custom Definition.

3. Click on Create Custom Dimension.
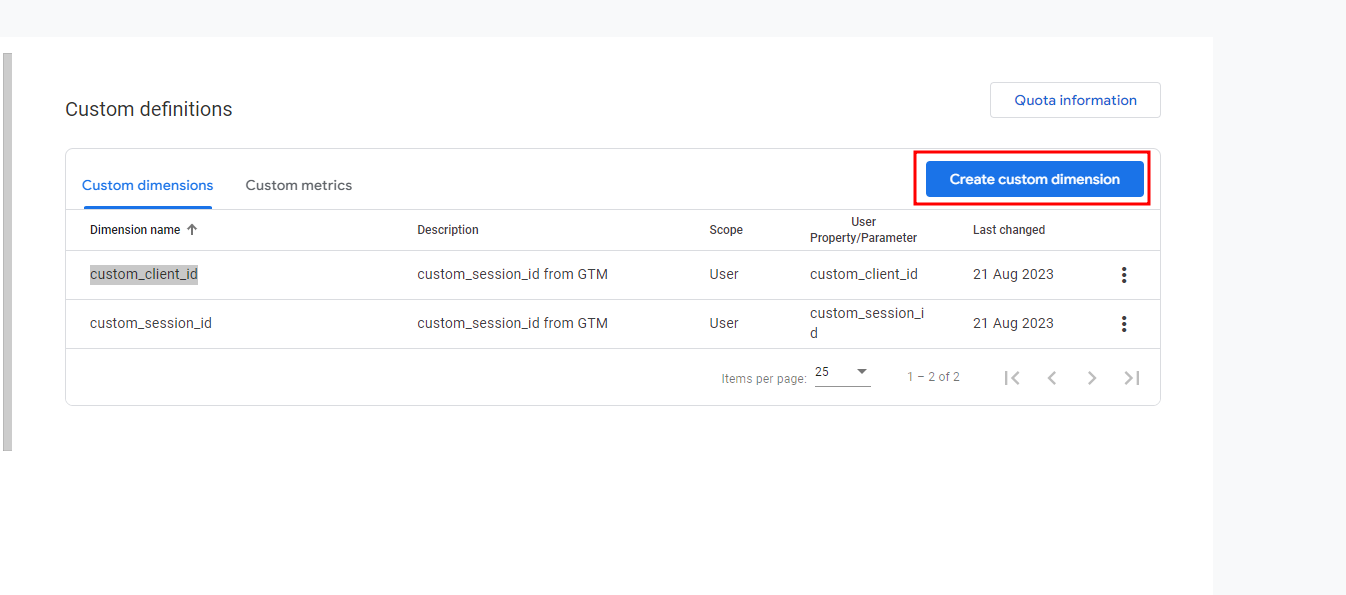
4. Select the Scope as User and then Enter the Following in the user property.
User property as custom_client_id
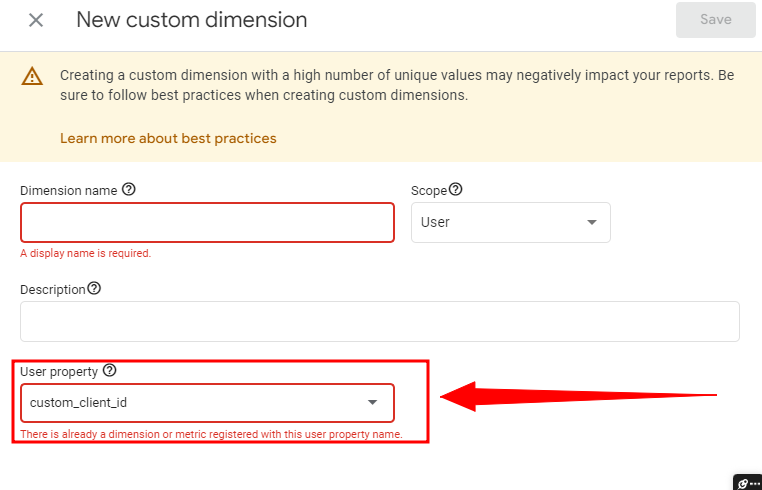
Note: name of the Dimension can be anything.
5. Same way create the other dimension for session id.
User property as custom_session_id
Note: wait 24 – 48 hours for the data in reporting section