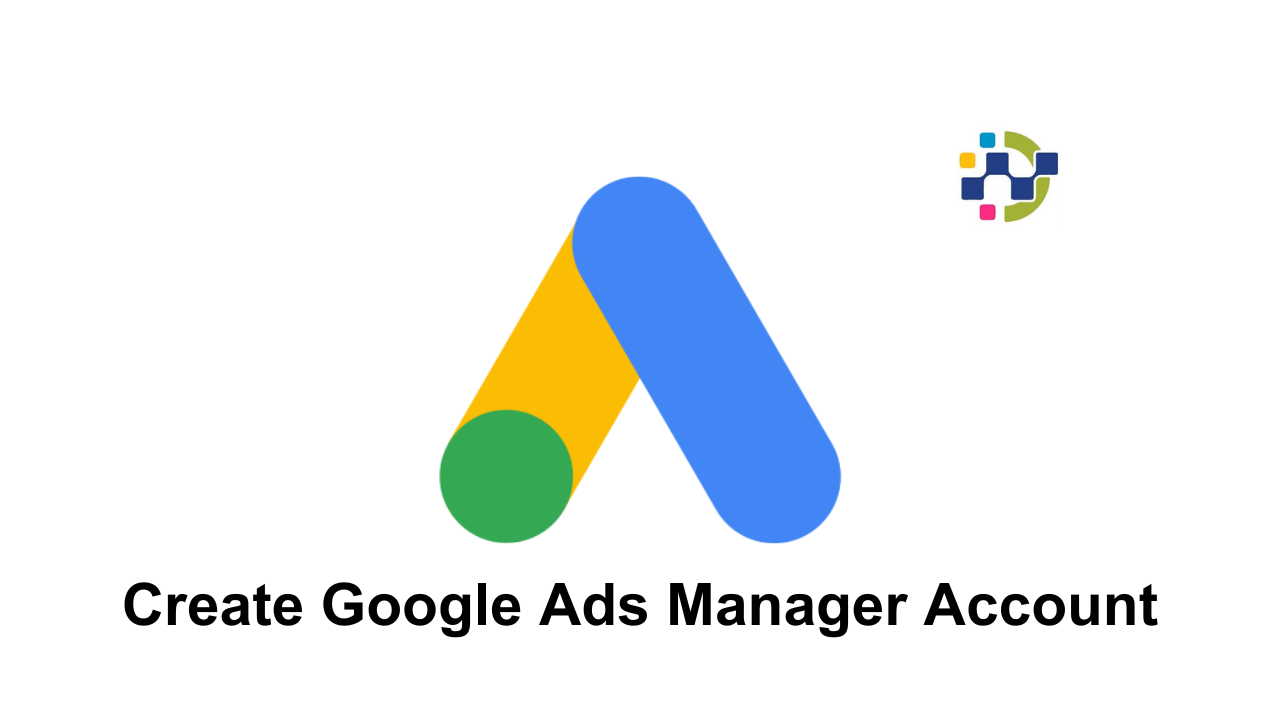
Why do we need Google Ads Manager Account?
A Google Ads Manager Account lets you easily view and manage multiple Google Ads accounts (including other manager accounts) from a single dashboard.
This documentation helps you to create manager accounts. Please email us your queries at support@sprighub.com for any support/issues faced while creating Google Ads Manager Account.
Steps to Create Google Ads Manager Account:
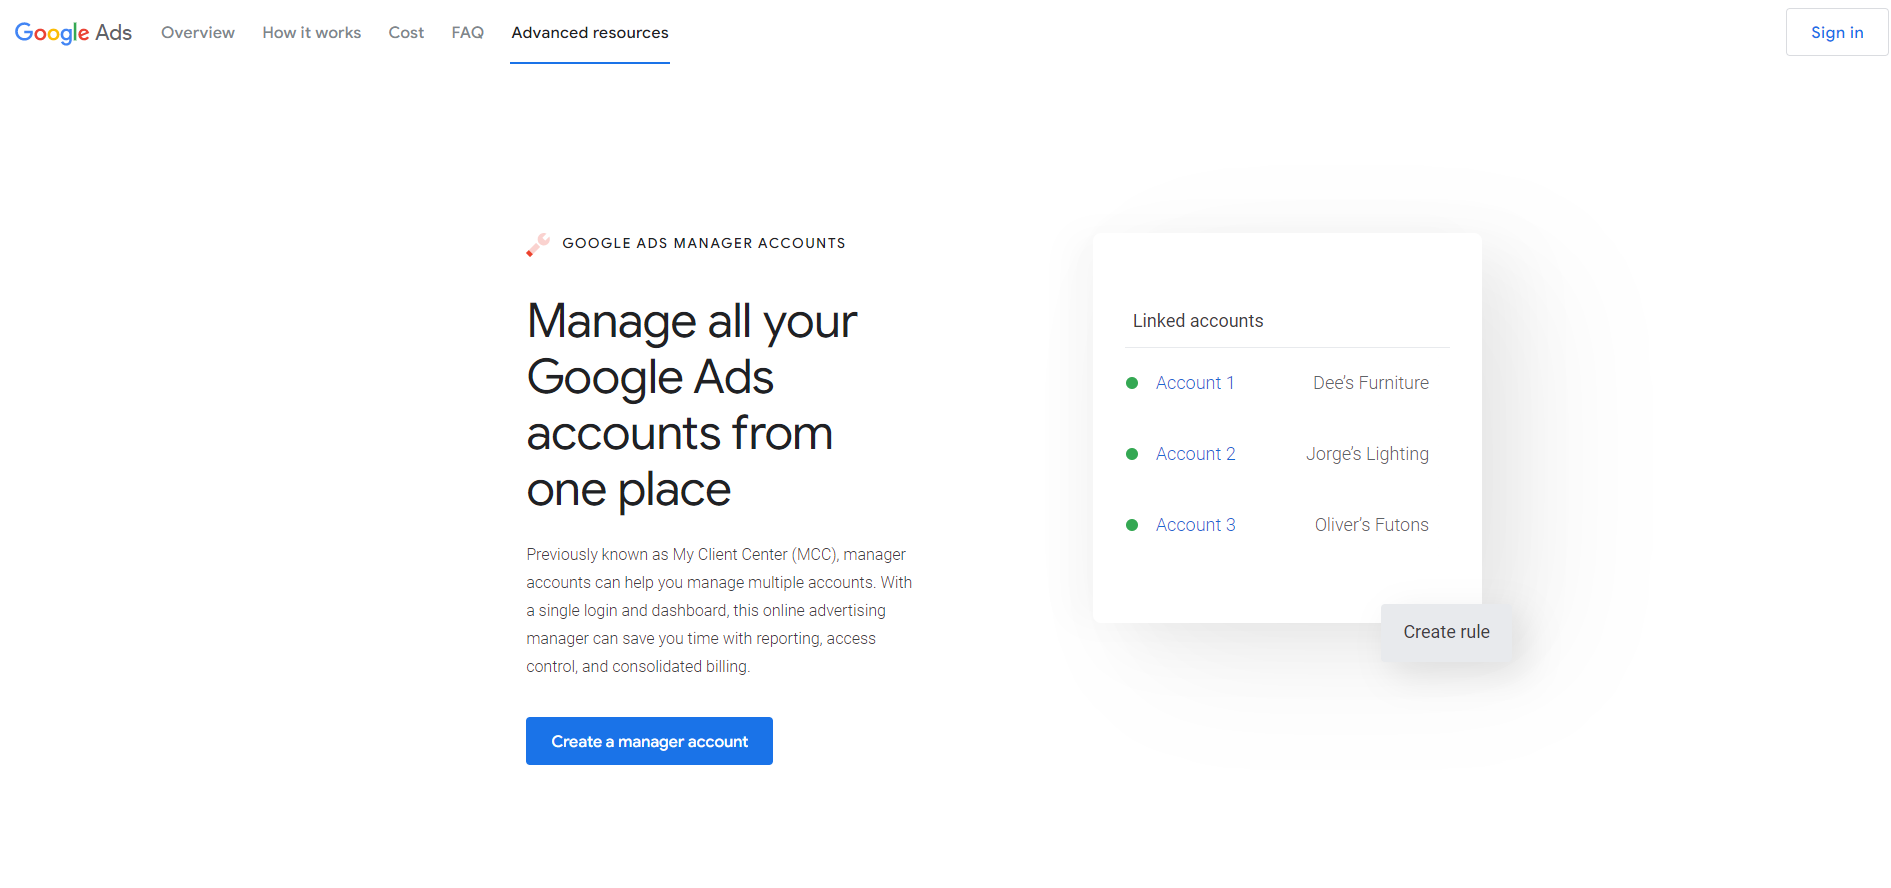
- Follow the Link Google Ads manager account homepage and click Create a manager account
- If you’re not signed in already, sign in using the email that you’d like to use to manage your new manager account
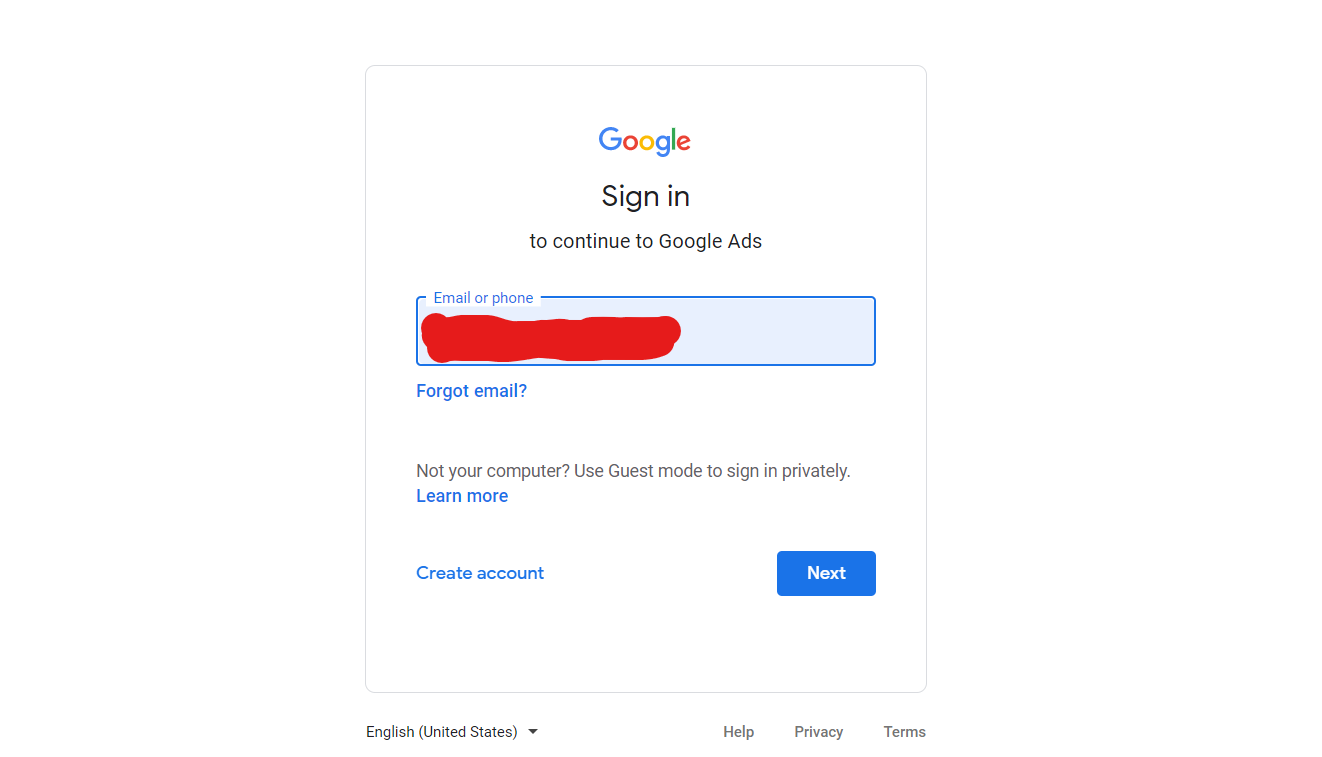
- Enter The Password and Click Next

- The same email address can be used for making 20 Google Ads Accounts including Google Ads Manager Account
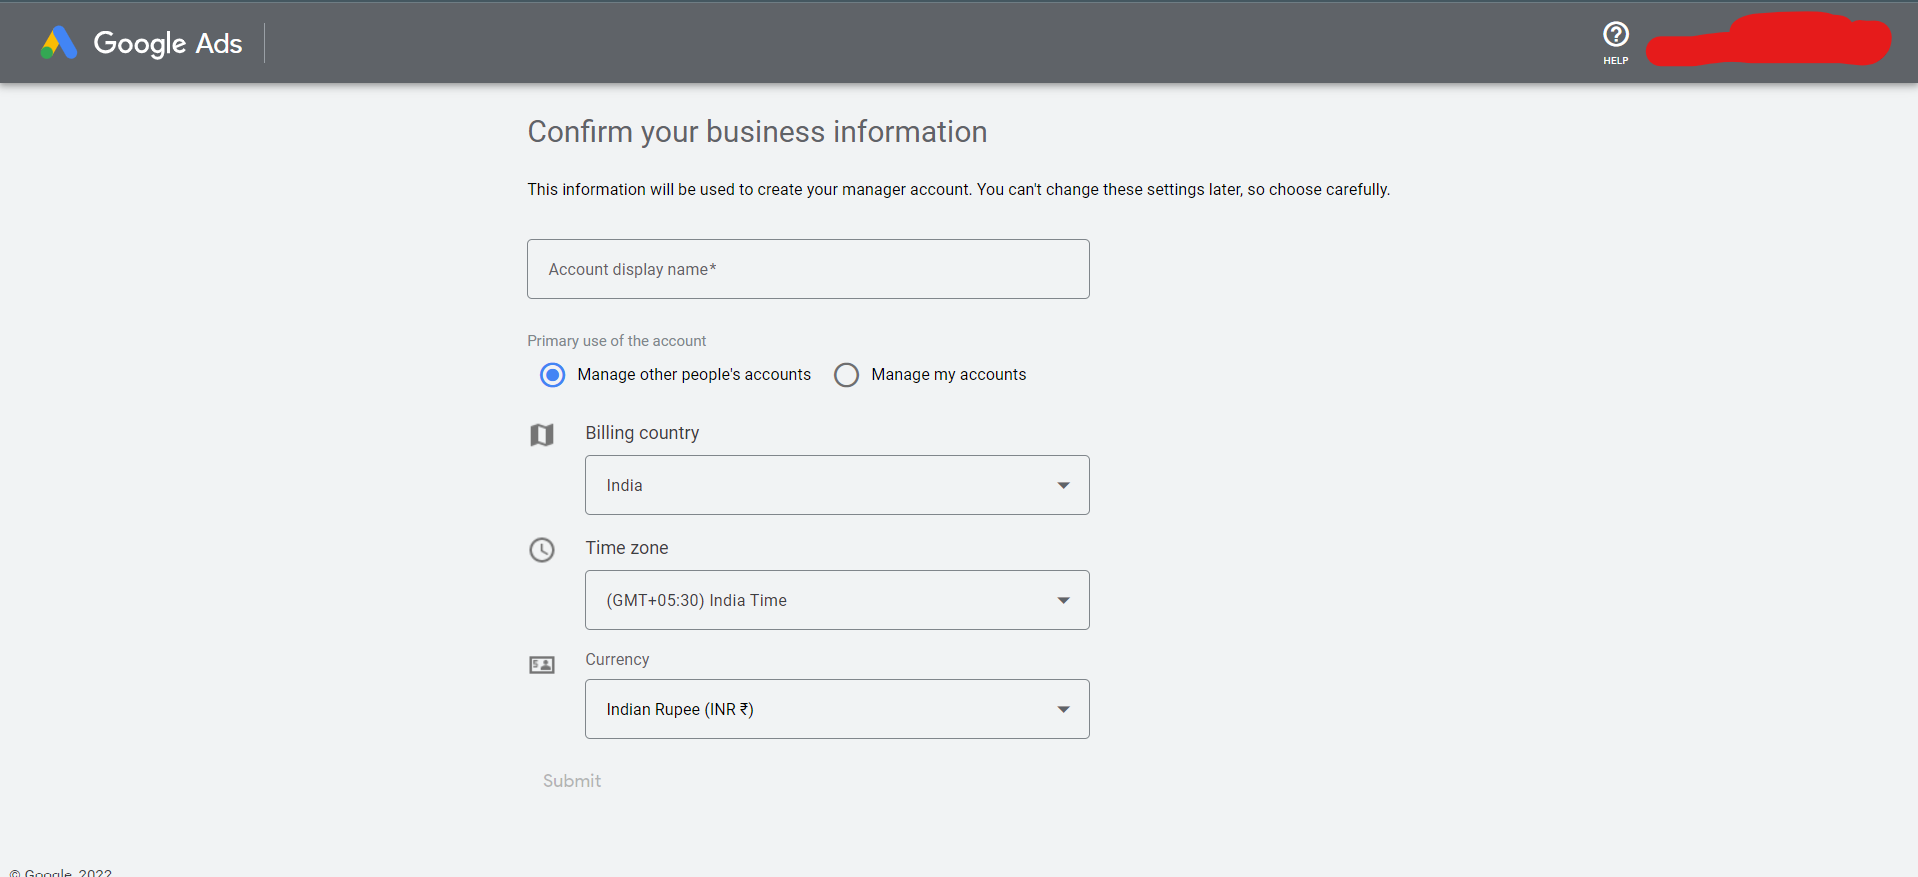
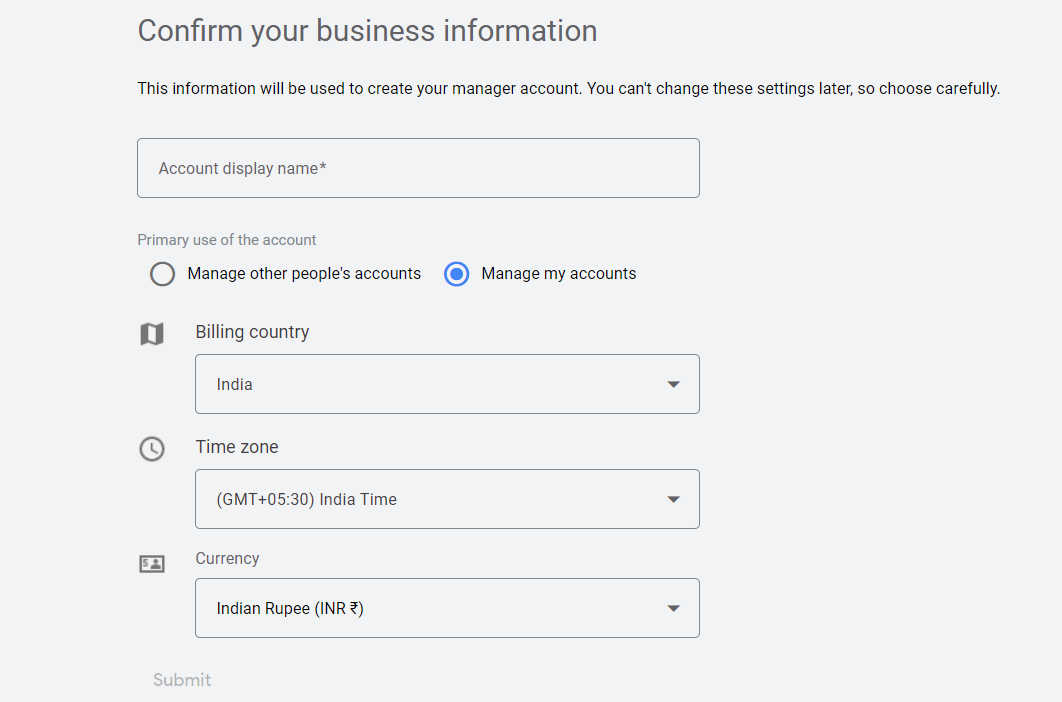
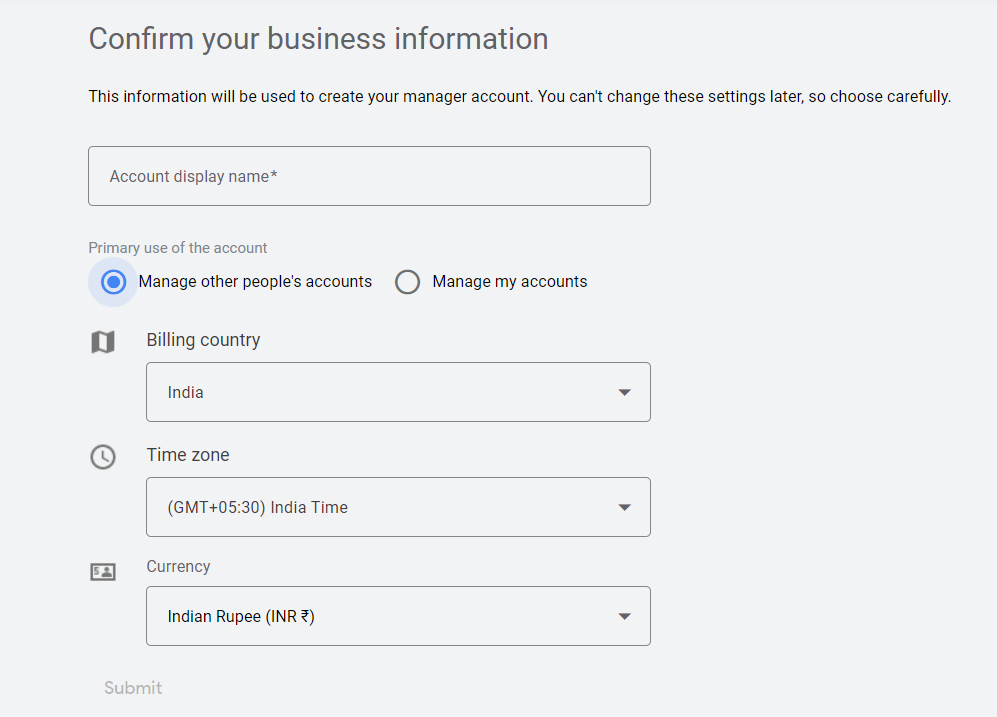
- Give your manager account a name. This is the name that your clients will see on their client account
Submit
Select Country Name
Currency
Time Zone
Manager Account Name
- Time zone will be used for your account reporting and billing and cannot be changed
- Why create Google Ads Manager Account:
- You want to manage your own multiple Google Ads accounts
(Follow the screenshot below for managing your own account)
- Want to manage other people’s accounts
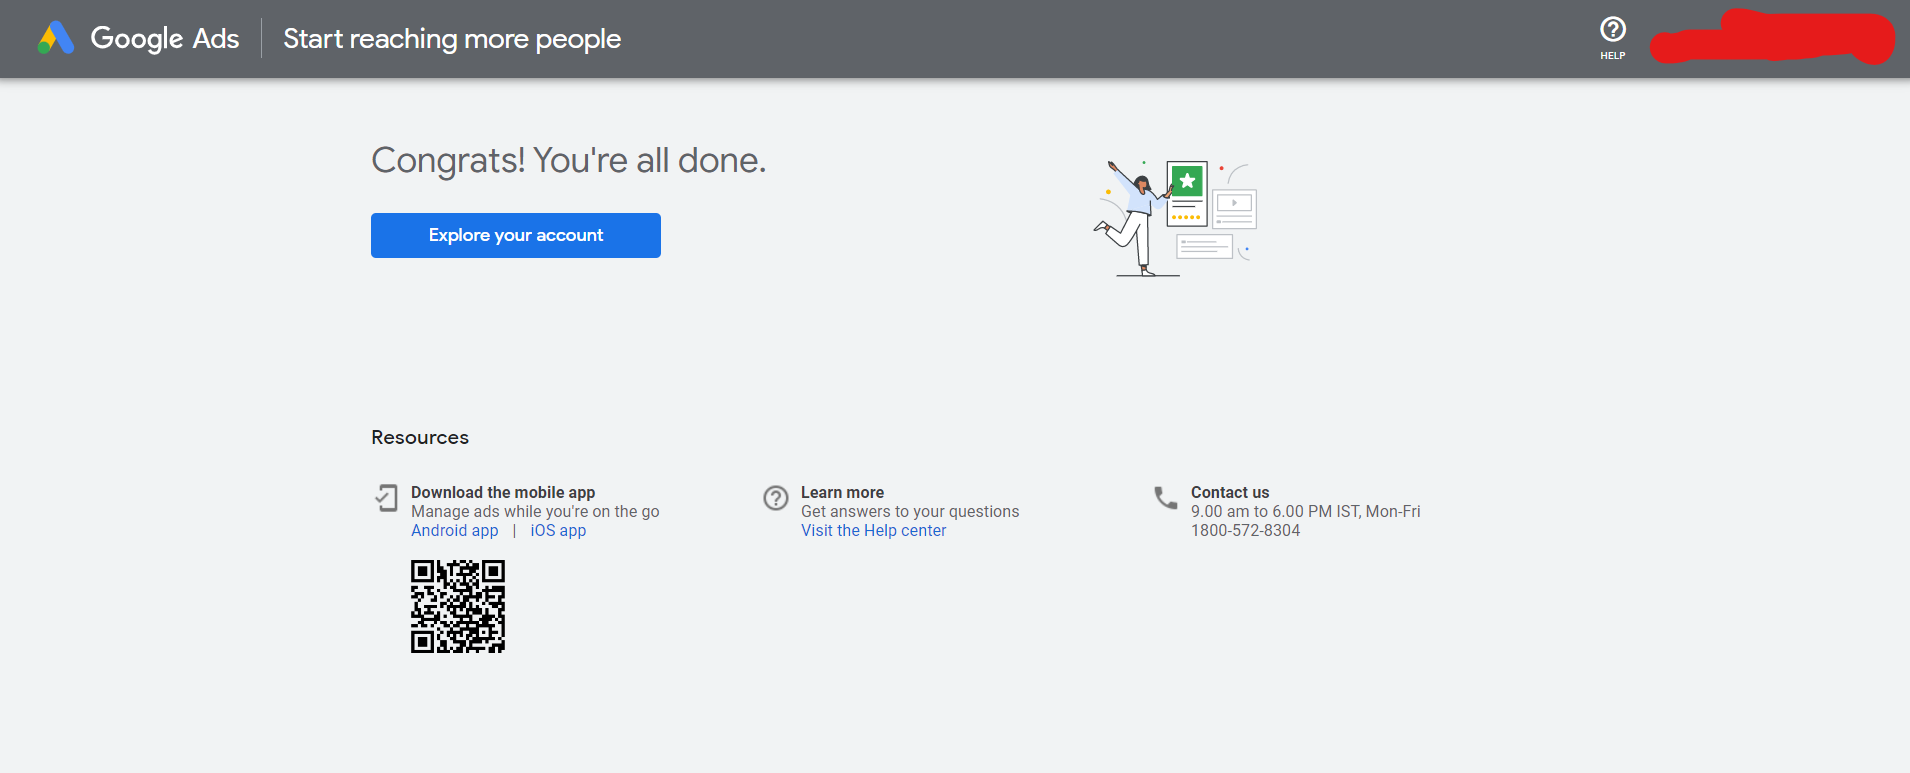
- Click Explore Your Account to get started
Steps to Link Google Ads Account to Manager Account:
- When you click on Explore your account or Sign in to your Google Ads Manager Account
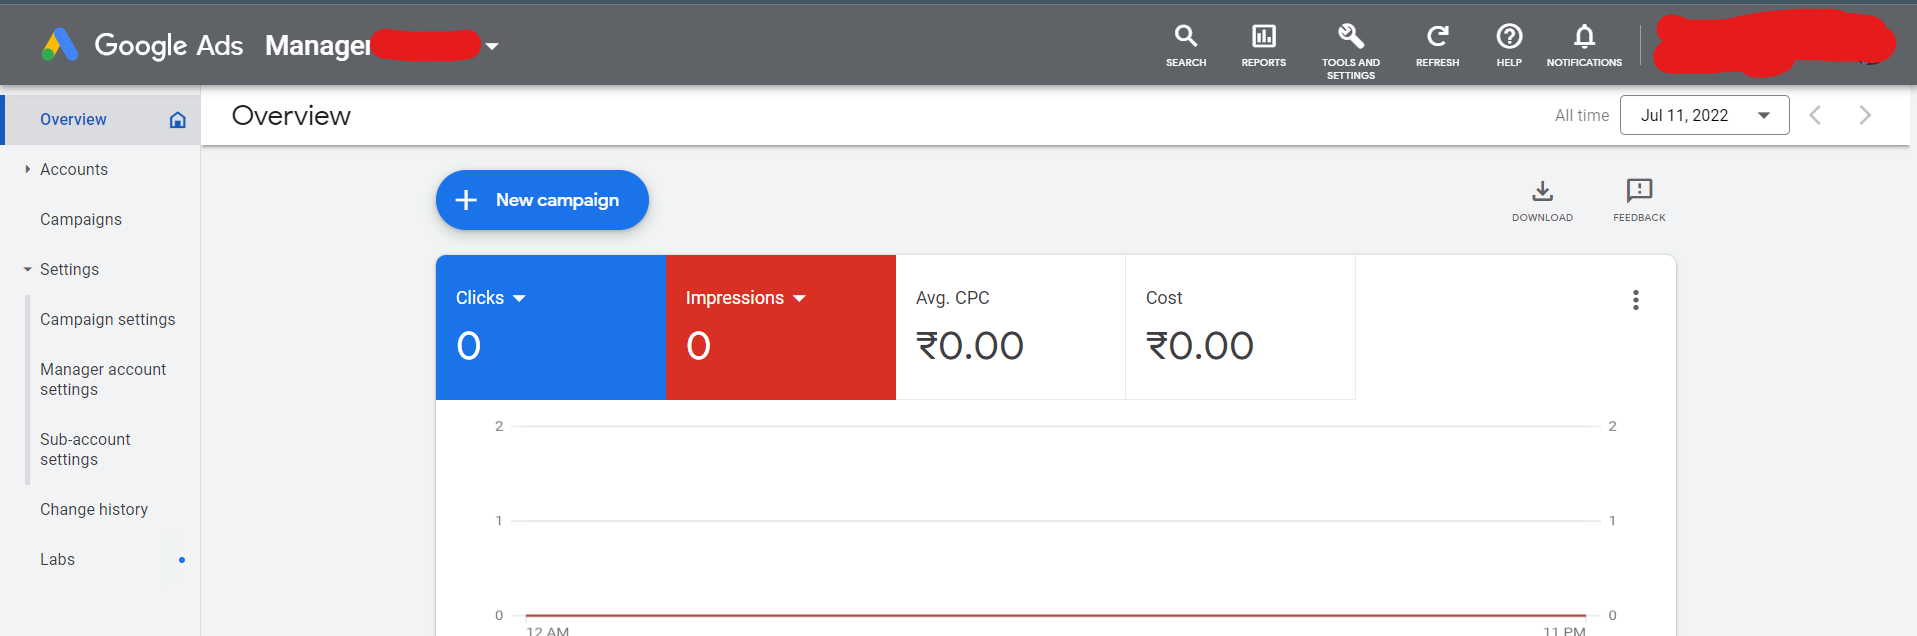
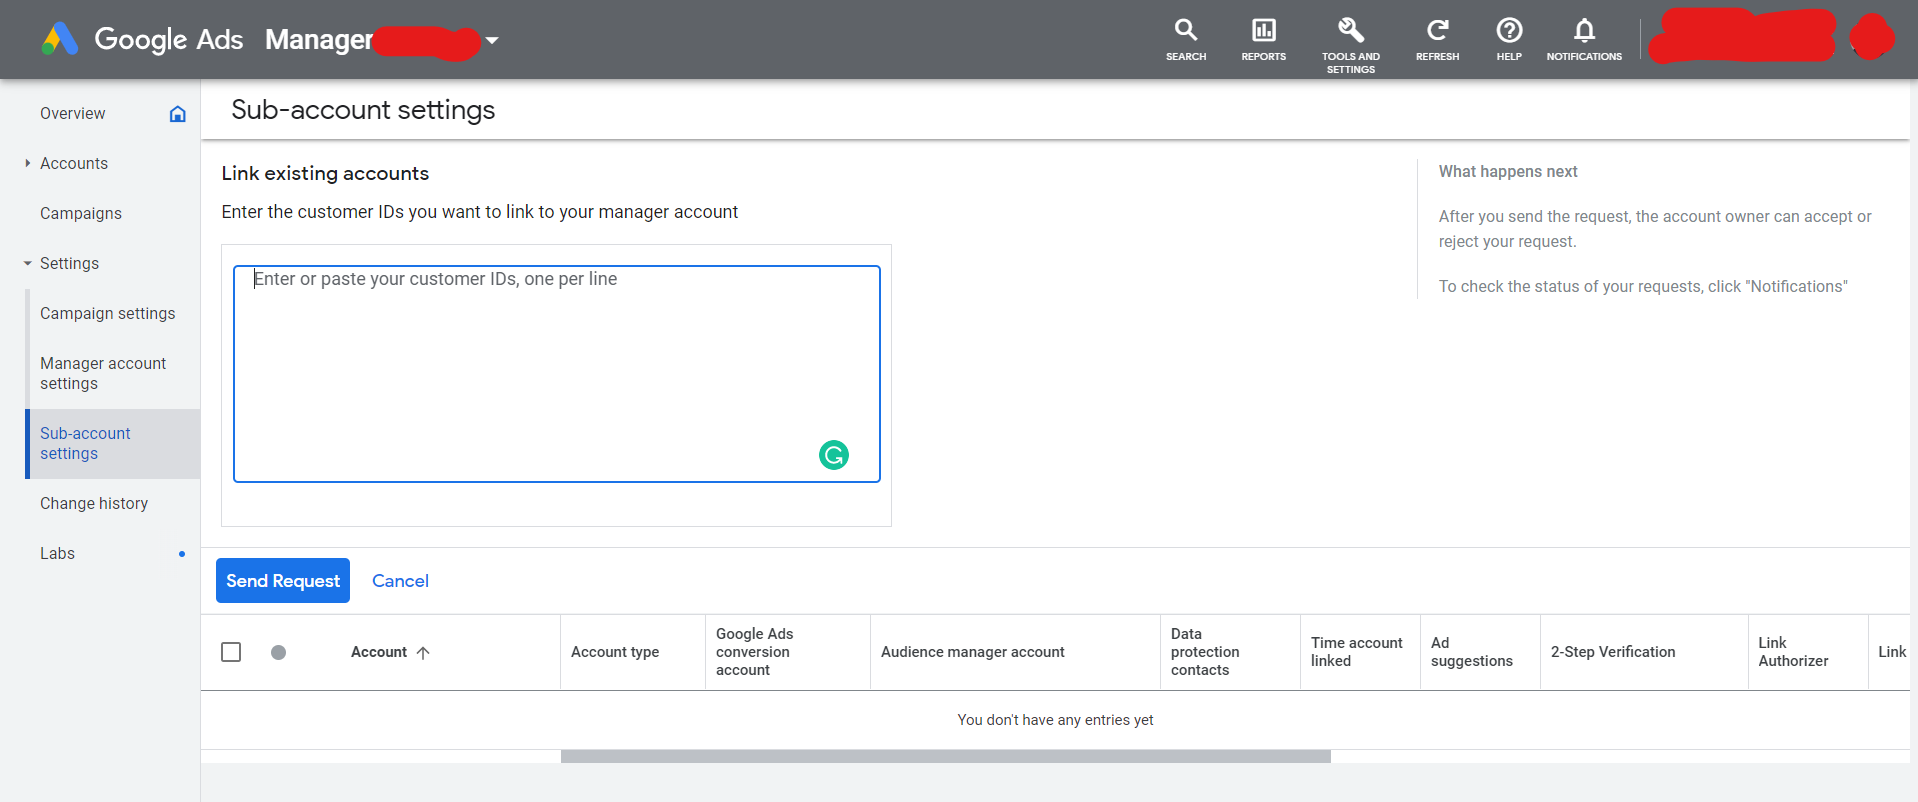
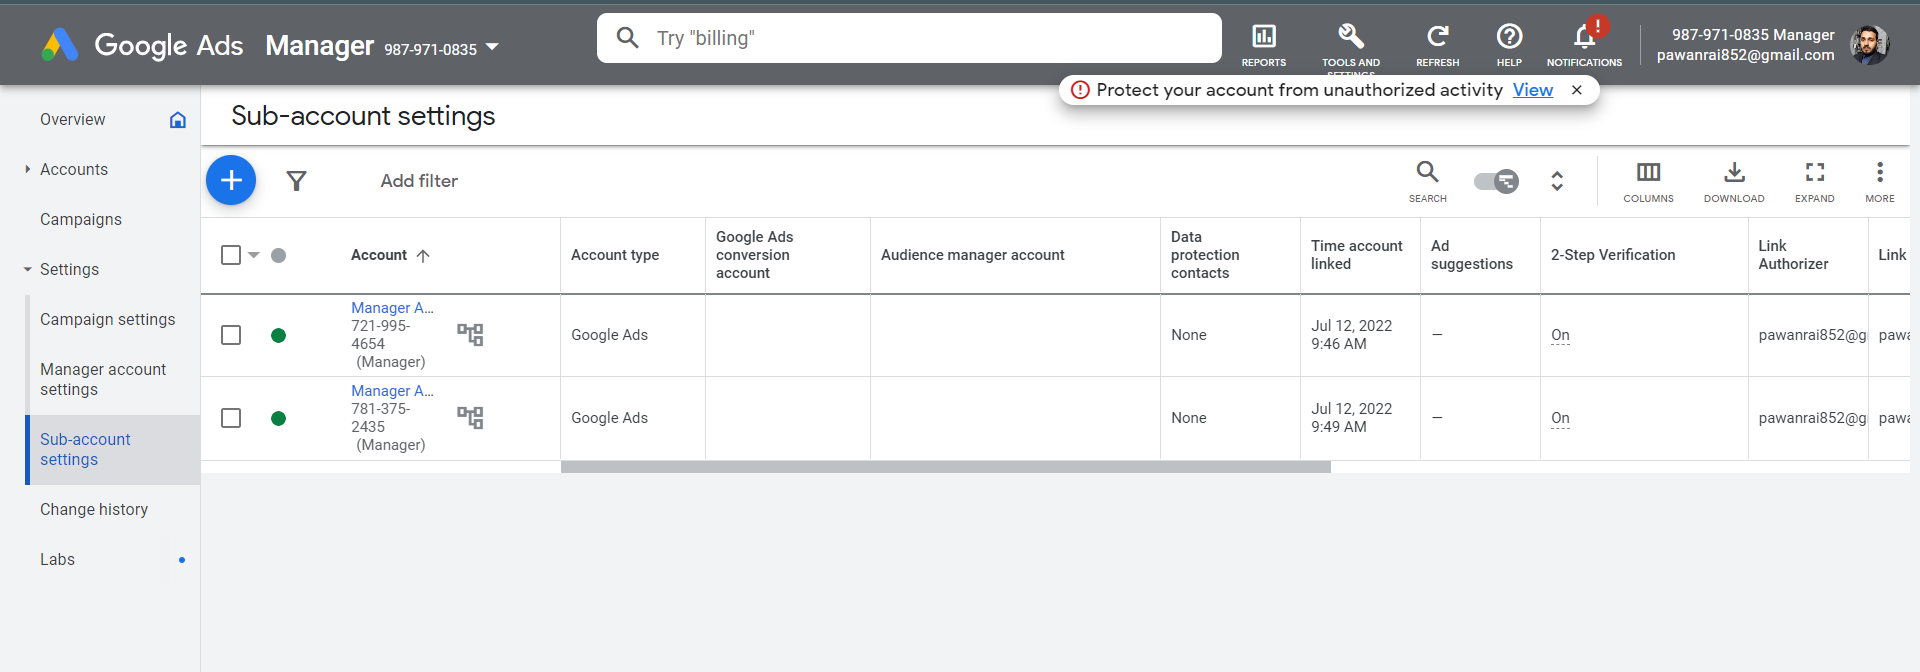
- From the page menu on the left, click Settings

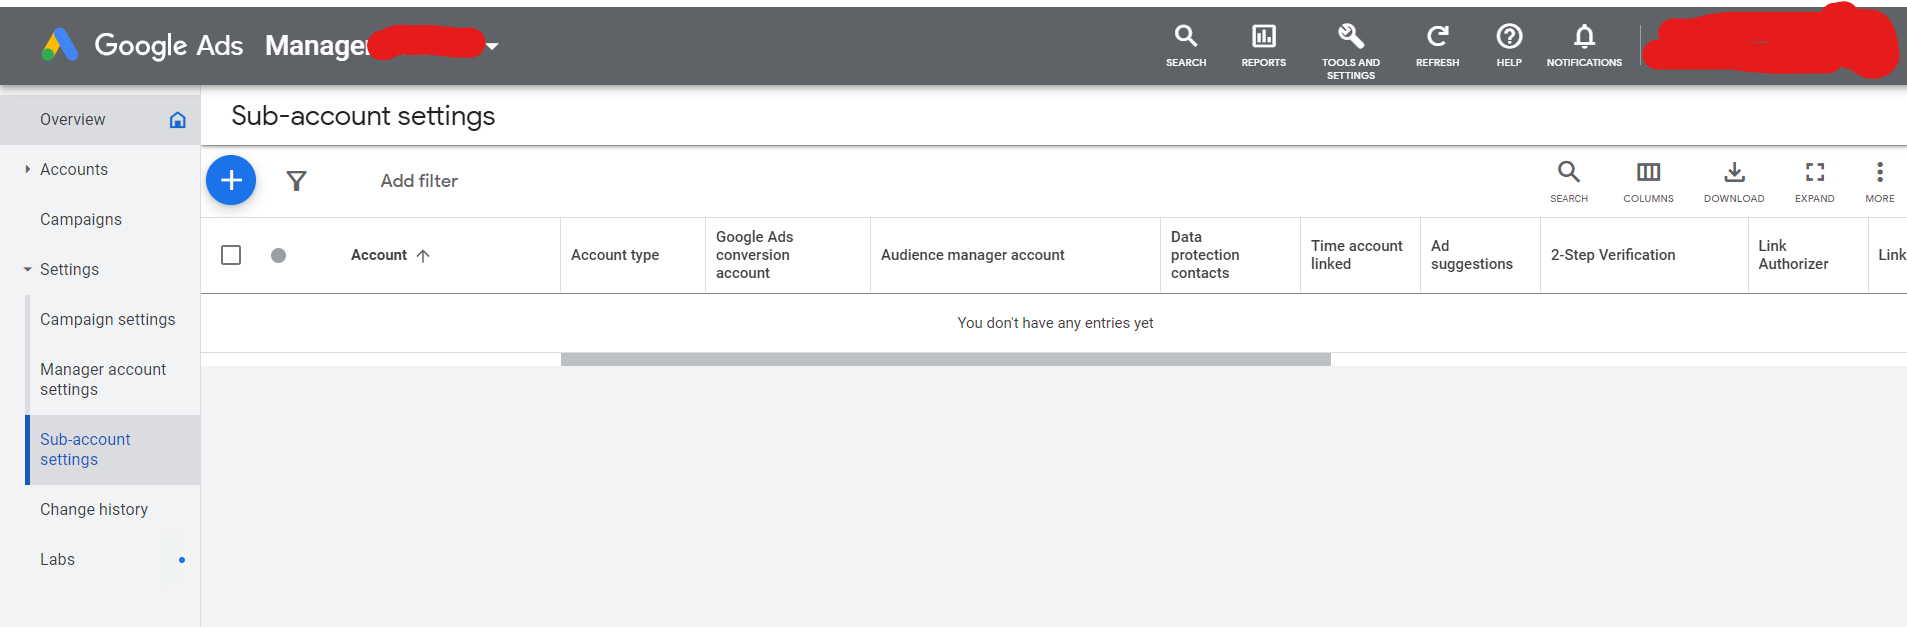
- click Sub-account settings
- Click on the + Button
- From here you can do three things
- You can create a Manager Account from here

- You can create a normal Ads Account from here
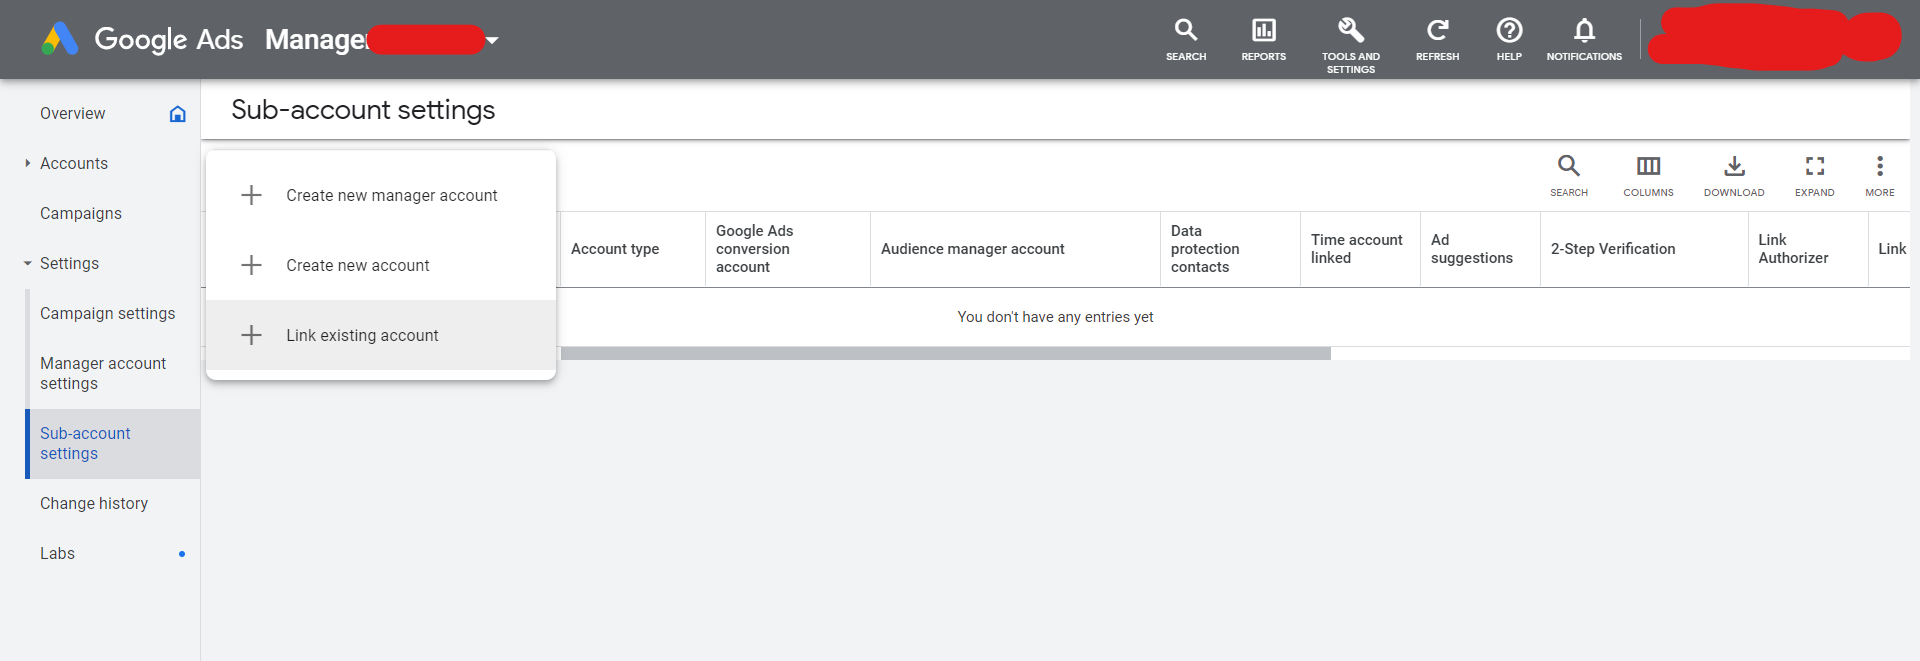
- You can link your existing Ads Account from here

- Click on Link existing account for linking your other account to your Manager Account
- Enter the Customer ID in the box and then click on Send Request
Customer IDs
- You Can Enter Multiple Google Ads Customer IDs at once, one per line
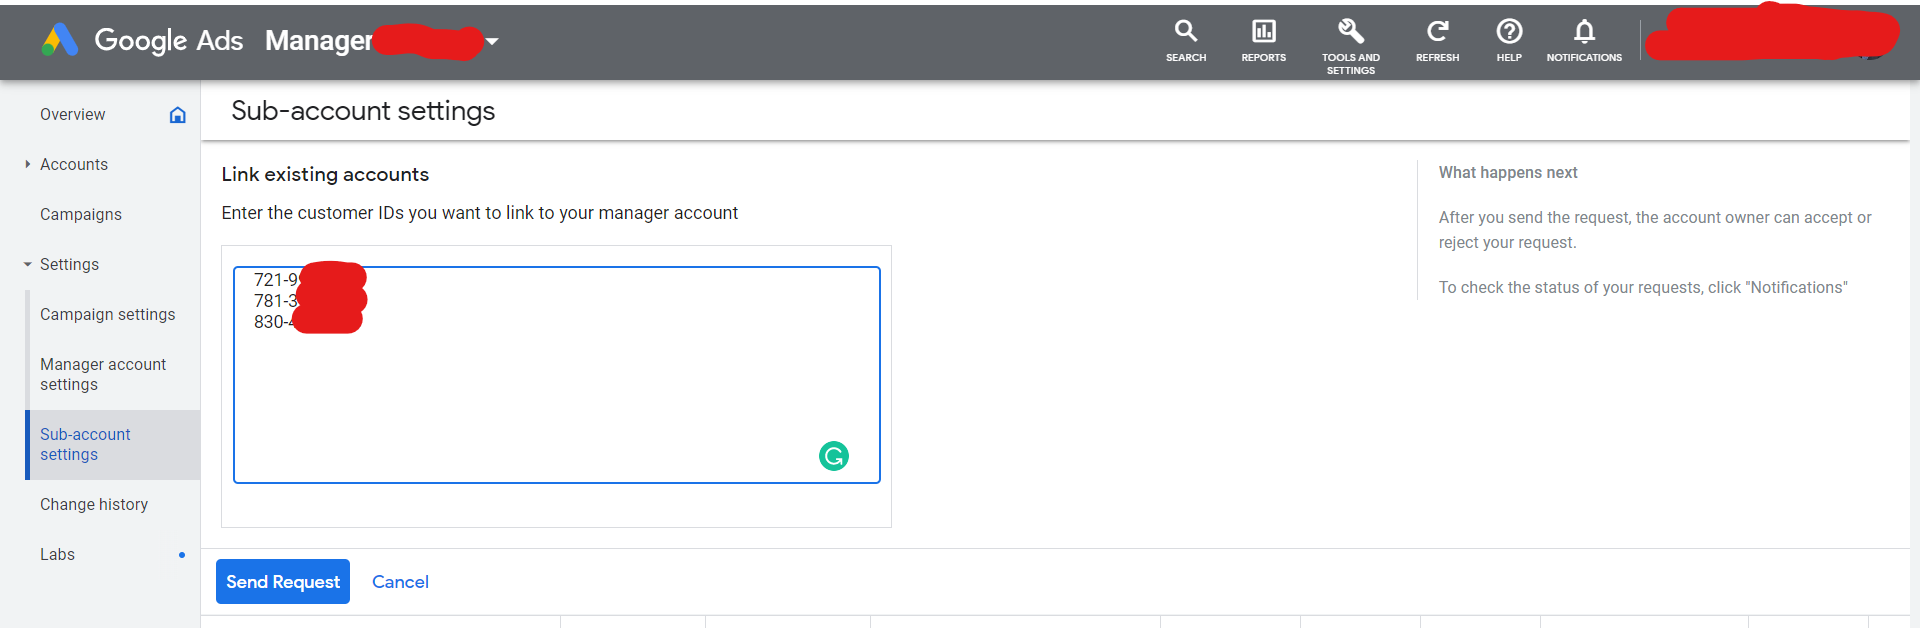
Like This
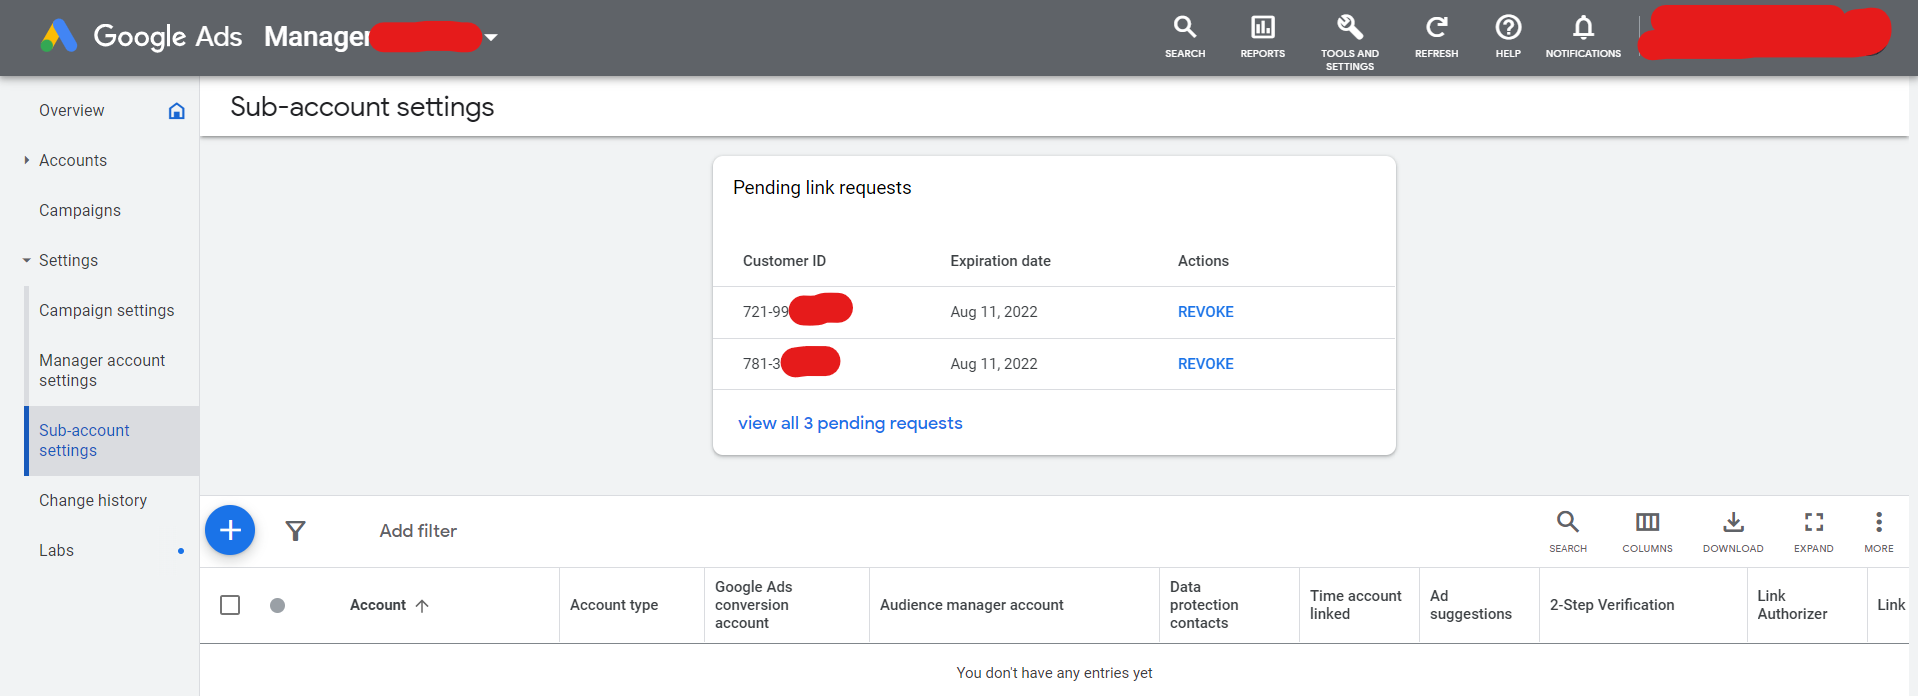
- After your request is sent, your dashboard will look like below:
- Check your registered email-id to Accept Request
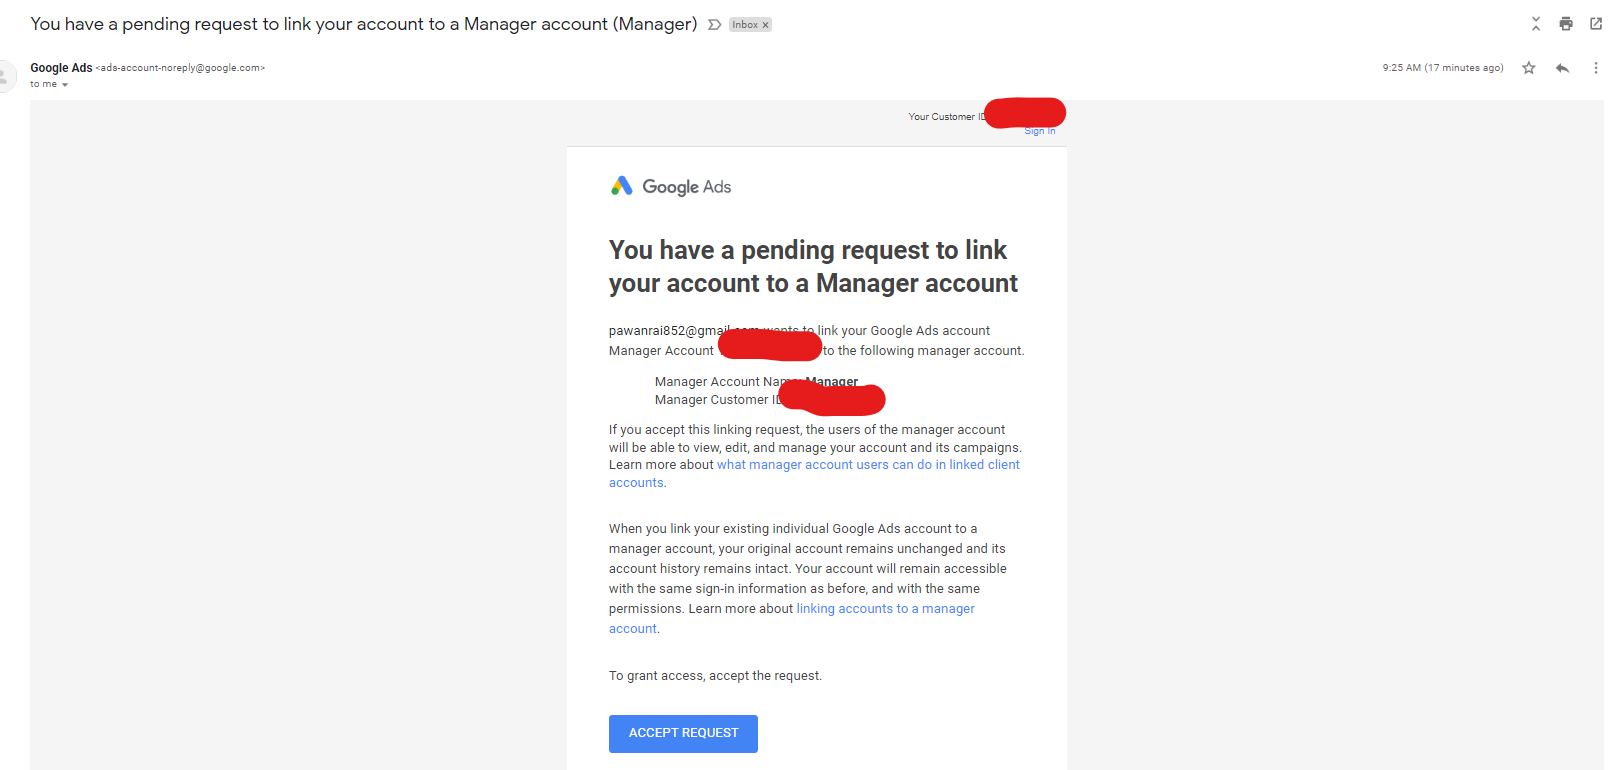
- You will be redirected to Google Ads Page to Accept the request
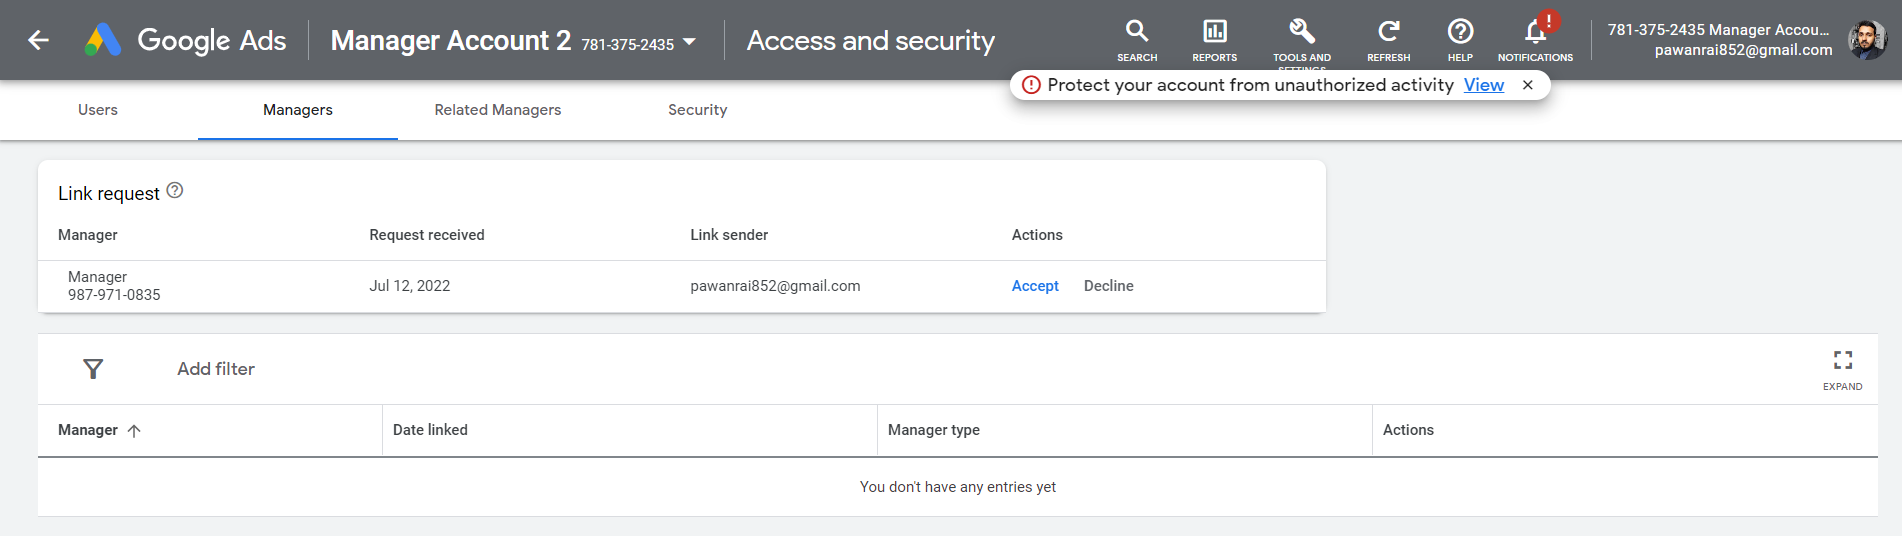
- After accepting you will be able to see the One Manager Account
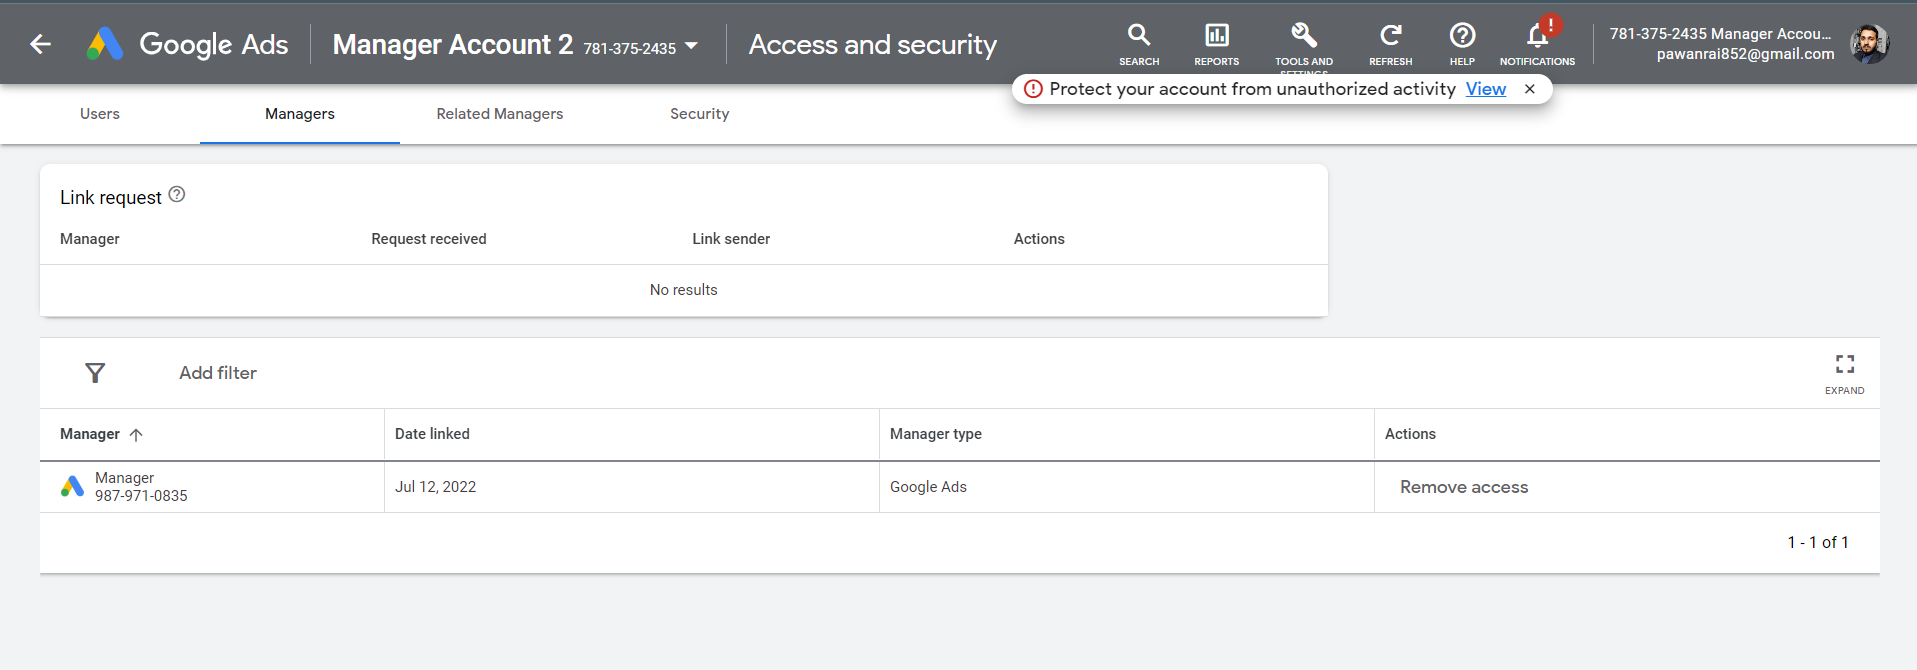
- Under Manager Account – you can see the Accepted Account
How to find Customer ID in Google Ads Account?
Google Ads Customer ID is a 10 Digit unique ID
Option 1: You can find the Google Ads Customer ID with the name of the account.
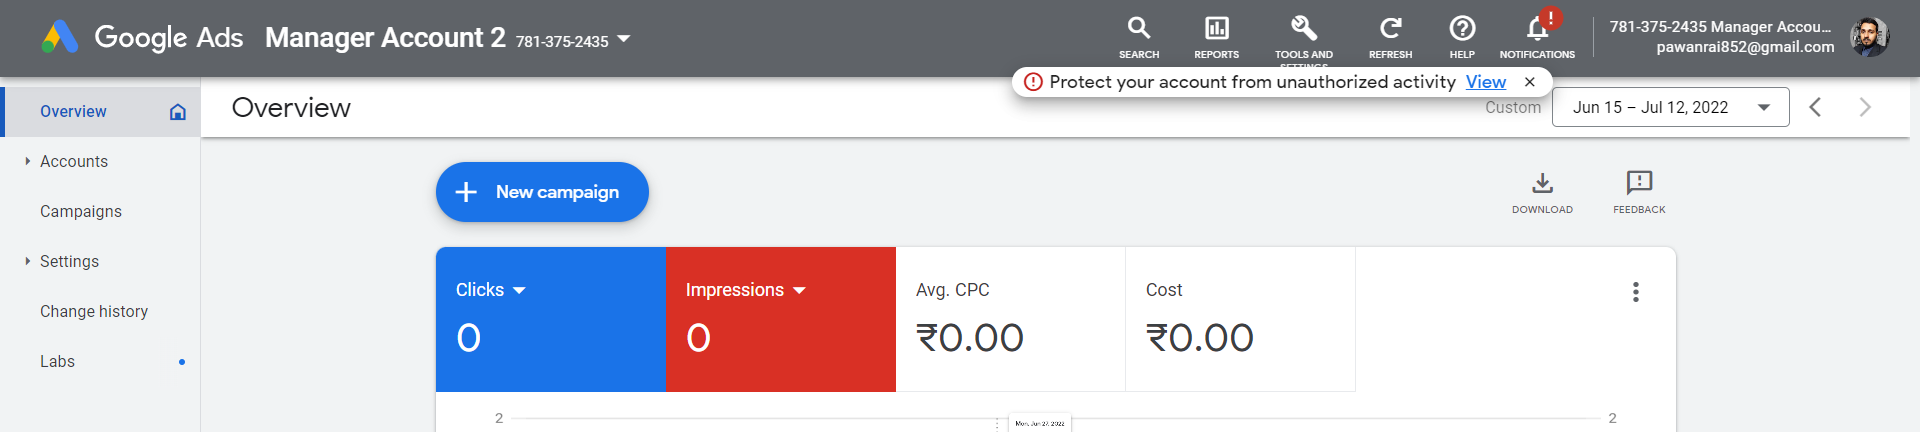
(In the screenshot below, the name of the account is Manager Account 2 followed by 10 – digit Customer ID)
Option 2: With the Google Account Image
(In the screenshot below – the image shown at the top right most corner of the page is the image of your Google Account. Just before that your 10-digit Customer ID is mentioned) 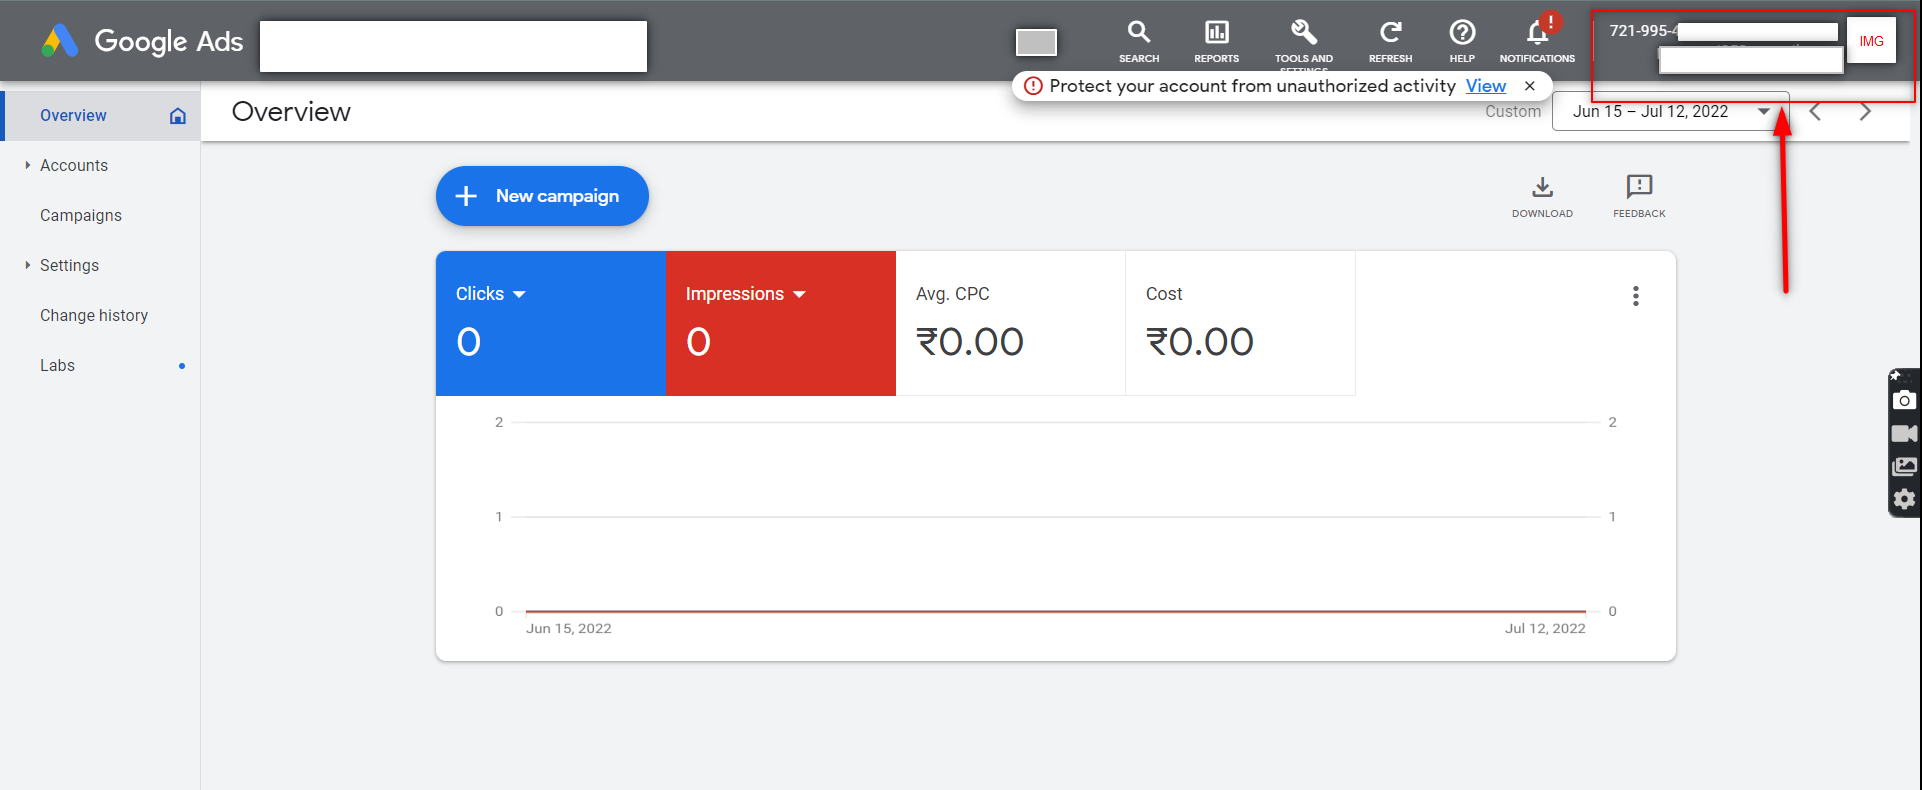
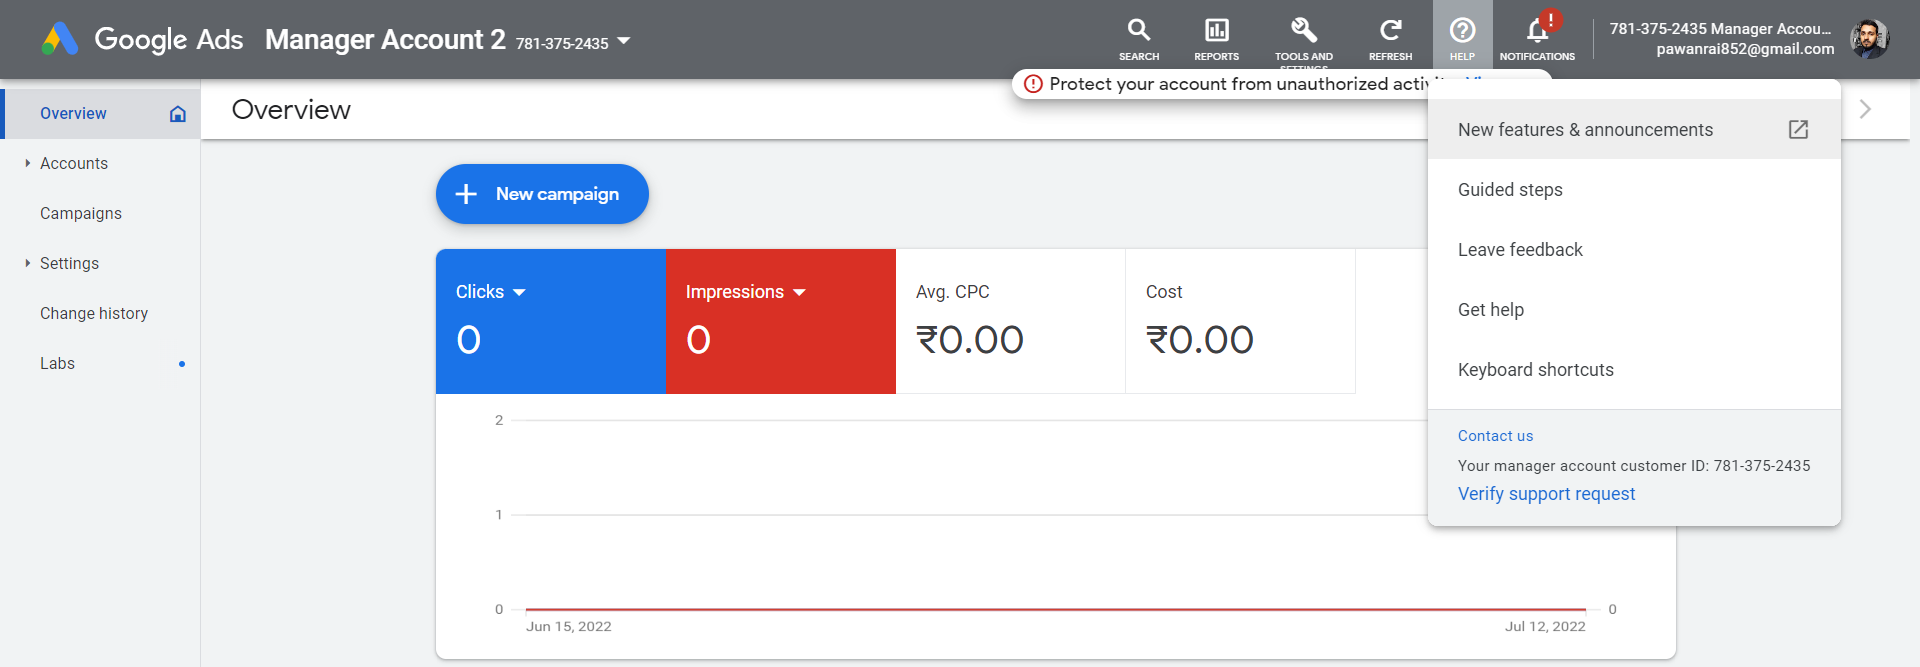
Option 3: Click on Help
(In the below Screenshot, you can see when we click on help, a dialog box opens that has Customer ID mentioned at the bottom)
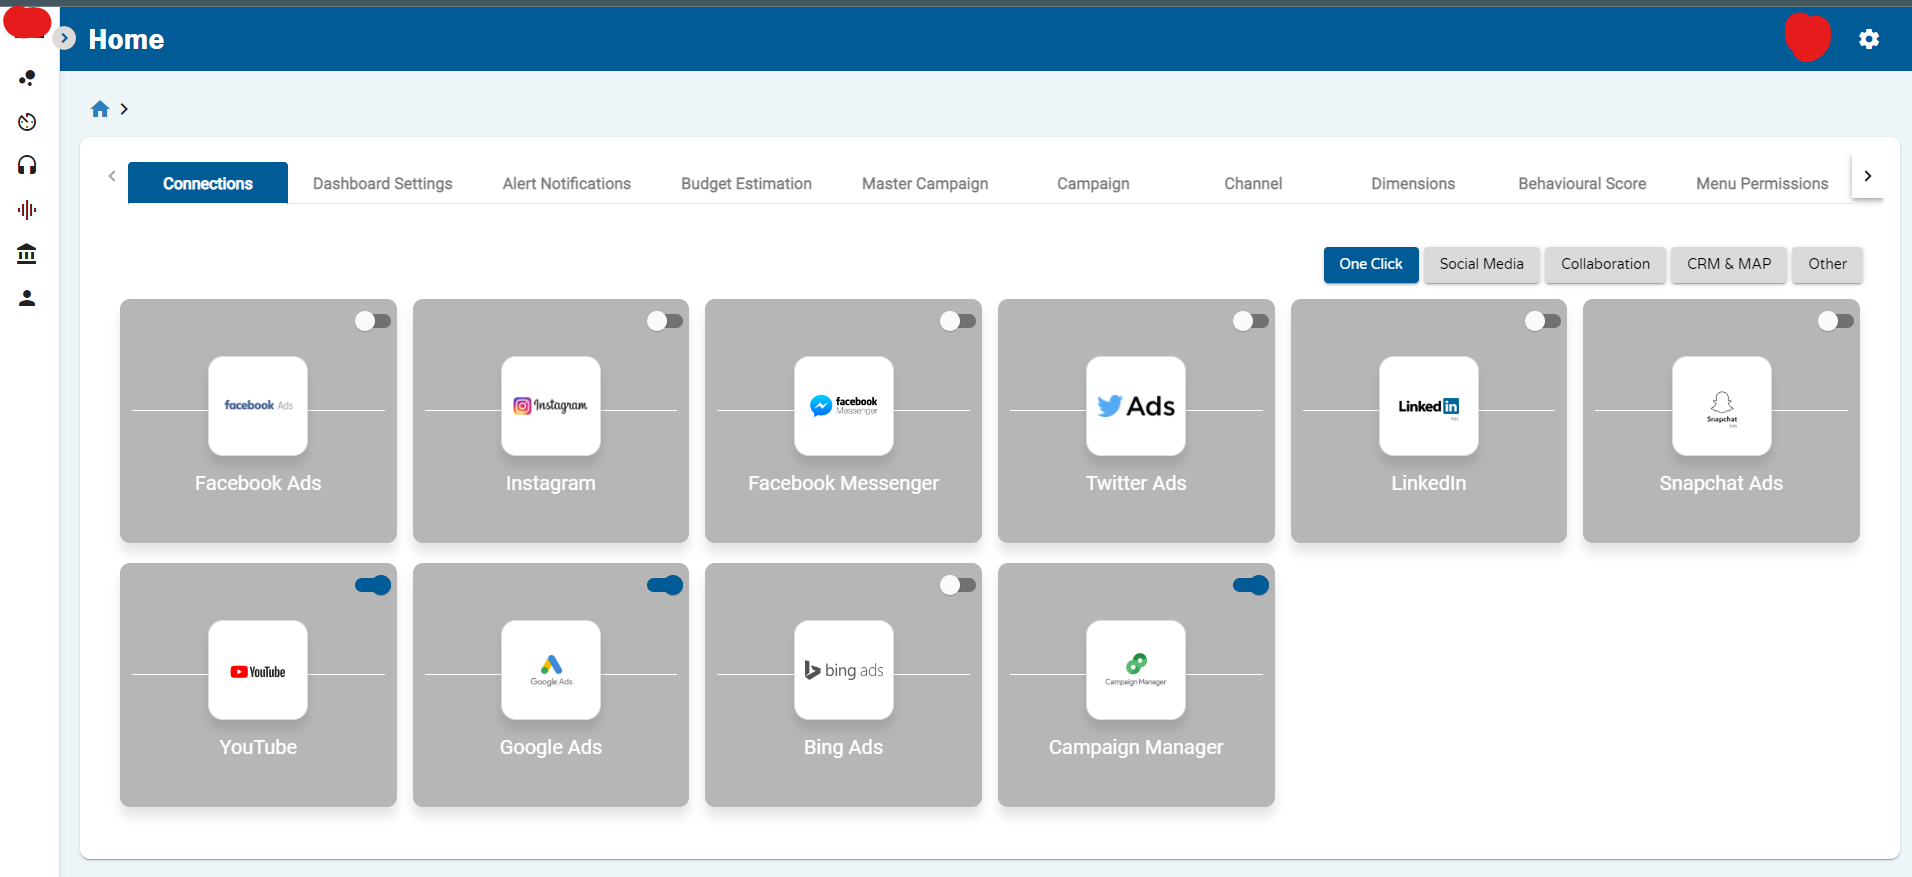
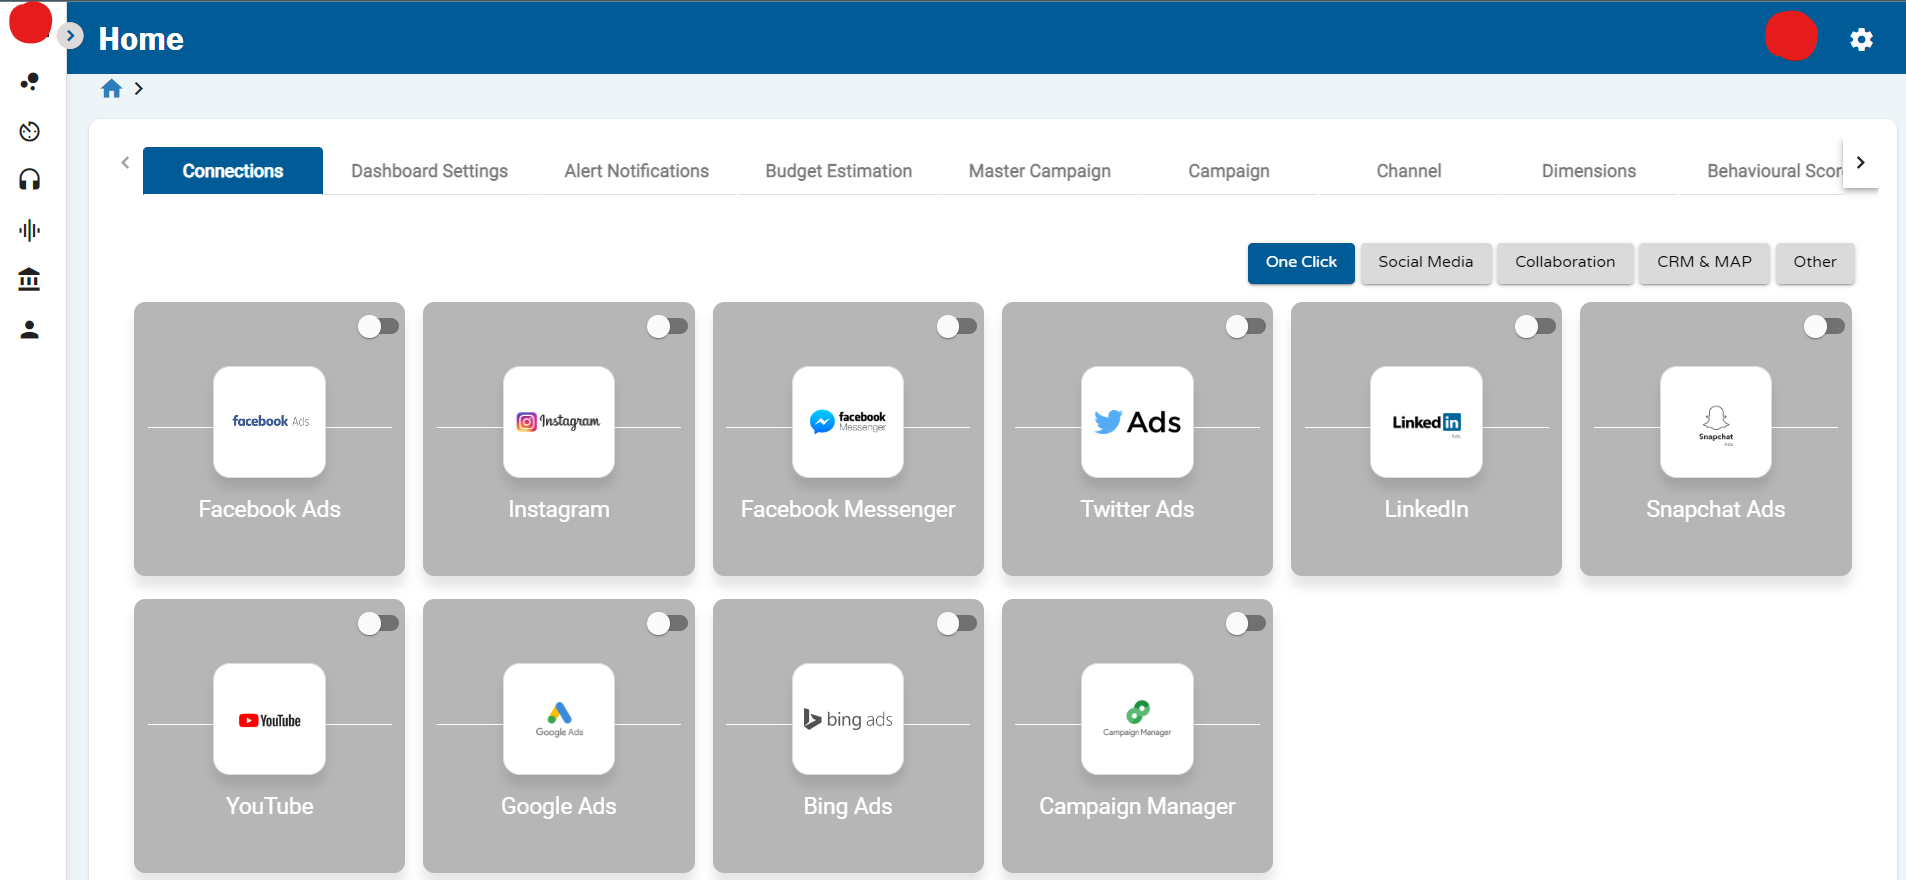
Steps To Authenticate Google Ads in SprigHub App
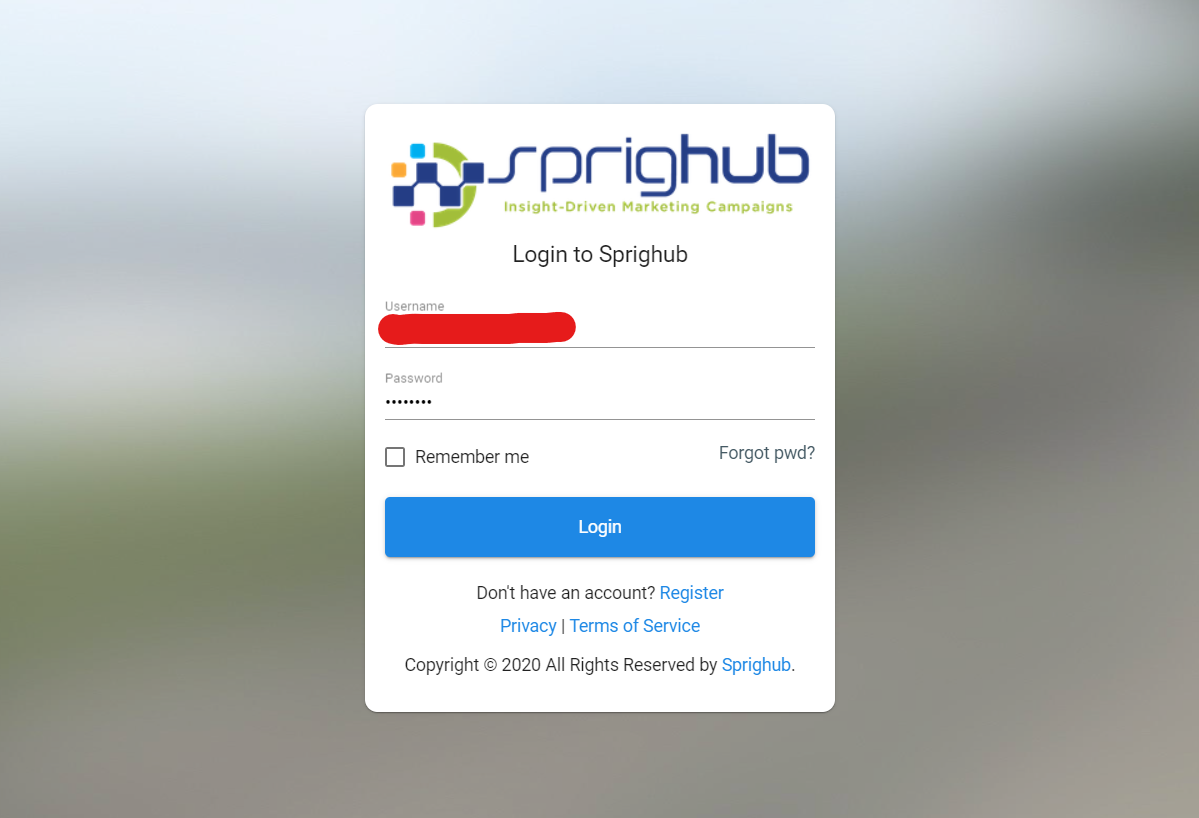
- Go to SprigHub App
- Enter the Username and Password
- Click on Login
- Click on the Setting
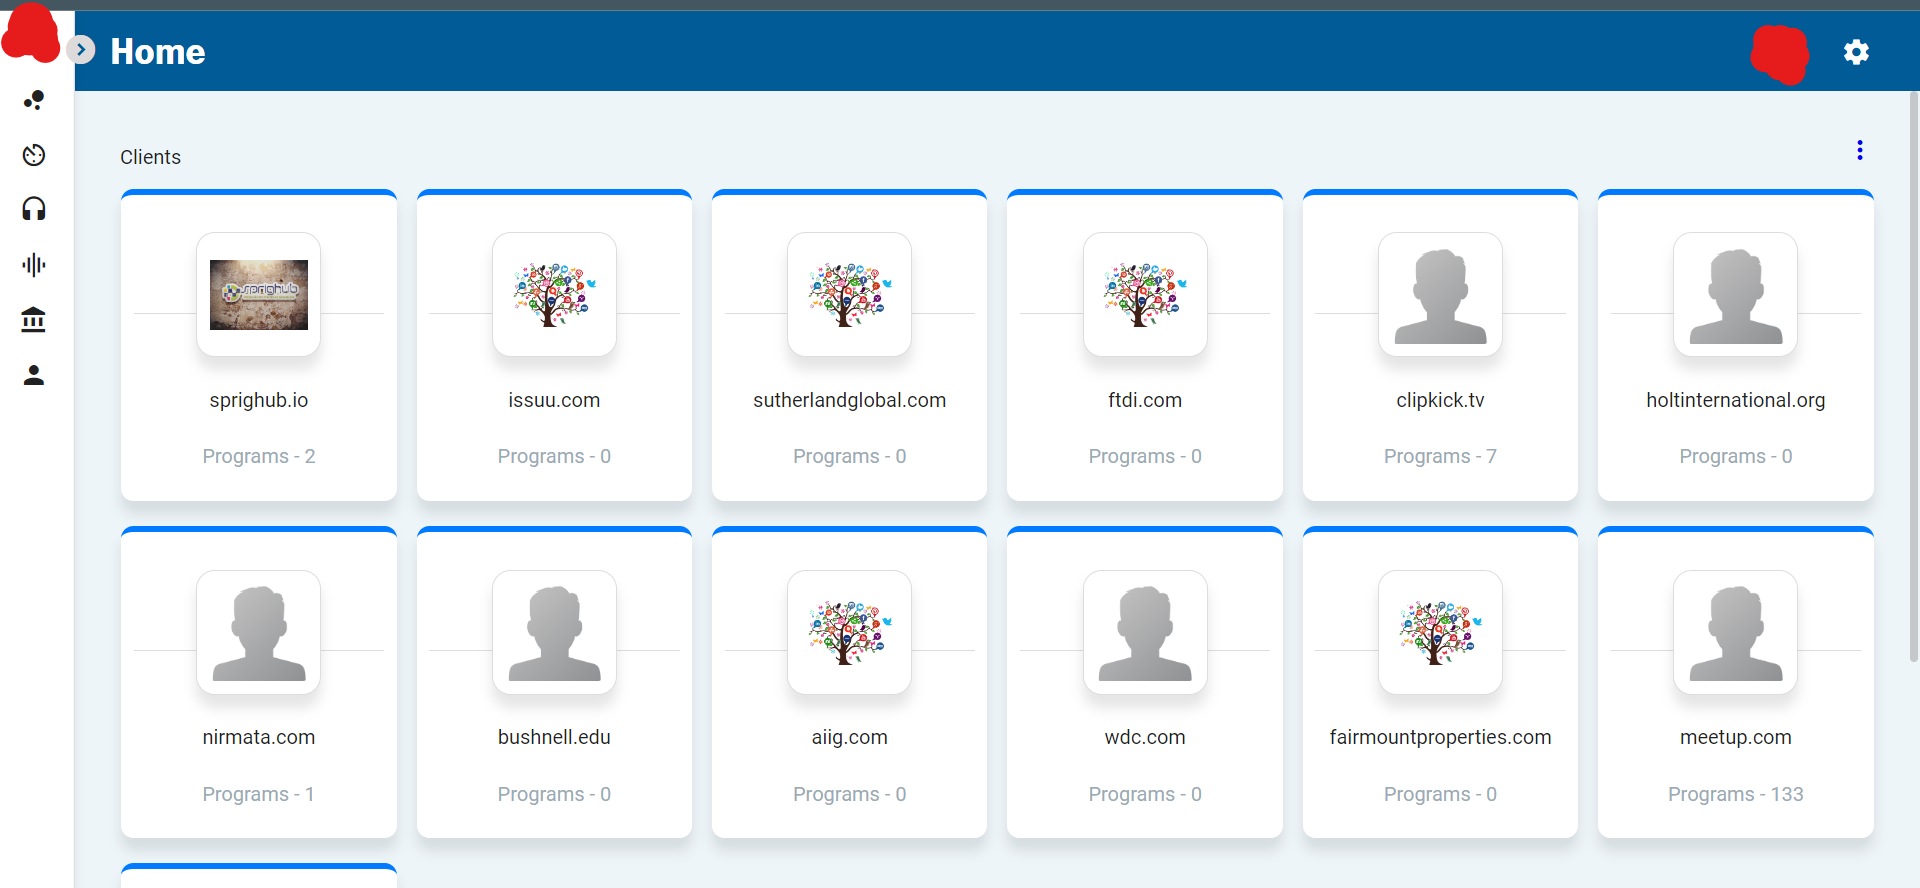
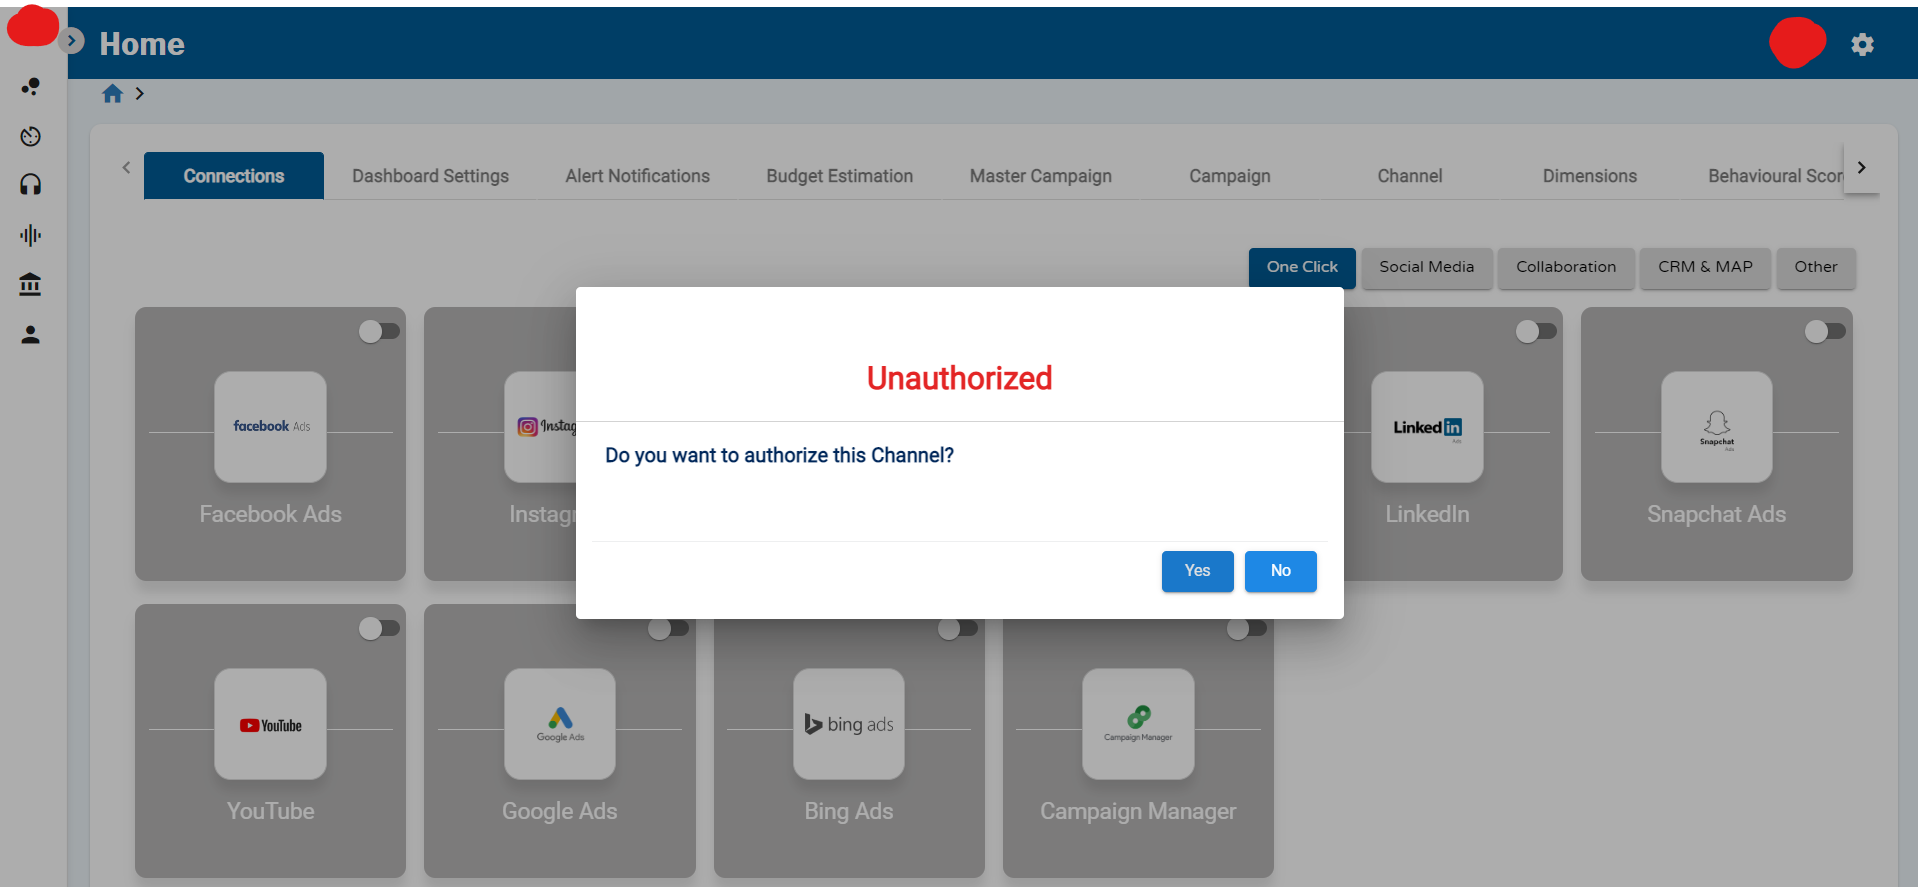
- Select Google Ads and Enable the toggle buttons
- A pop-up window will appear. To authorize the Chanel please click Yes
- Provide the 10-digit Customer ID for your Google Ads Manager Account and Authorize

- You will be redirected to Google Auth. Page to Select the Google Account
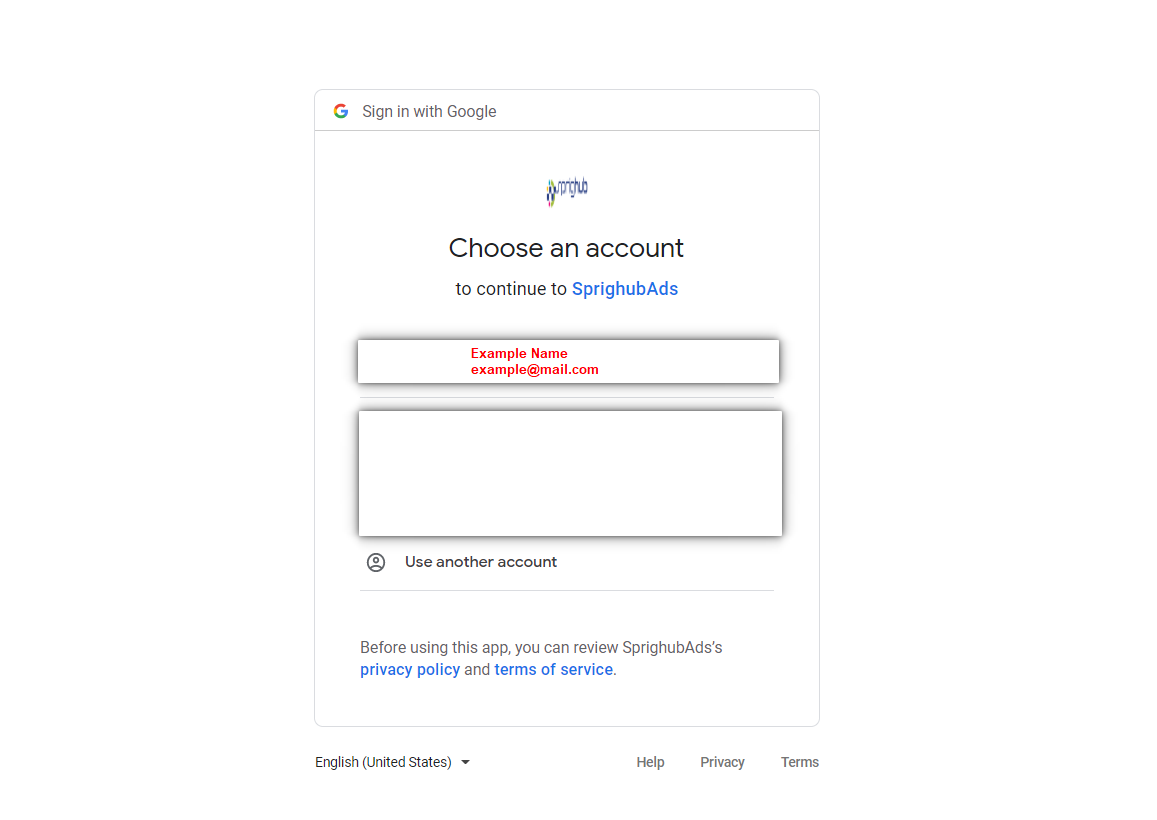
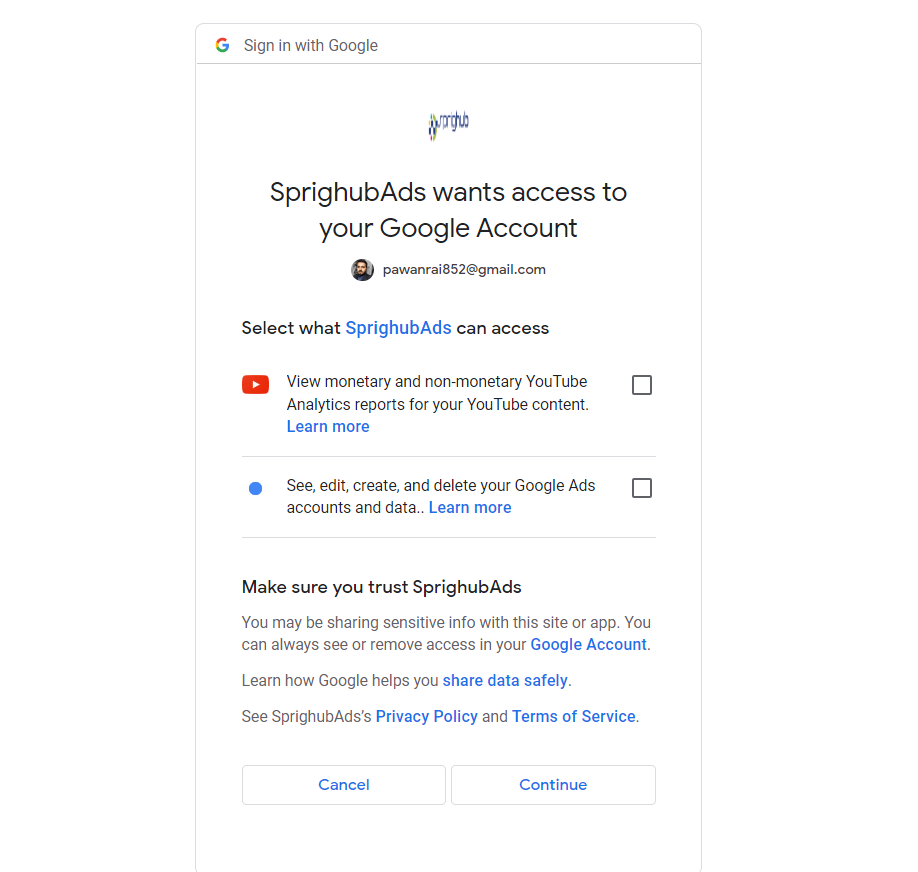
- Select the email account that you registered with Google Ads
- Tick the below highlighted Boxes and Click Continue
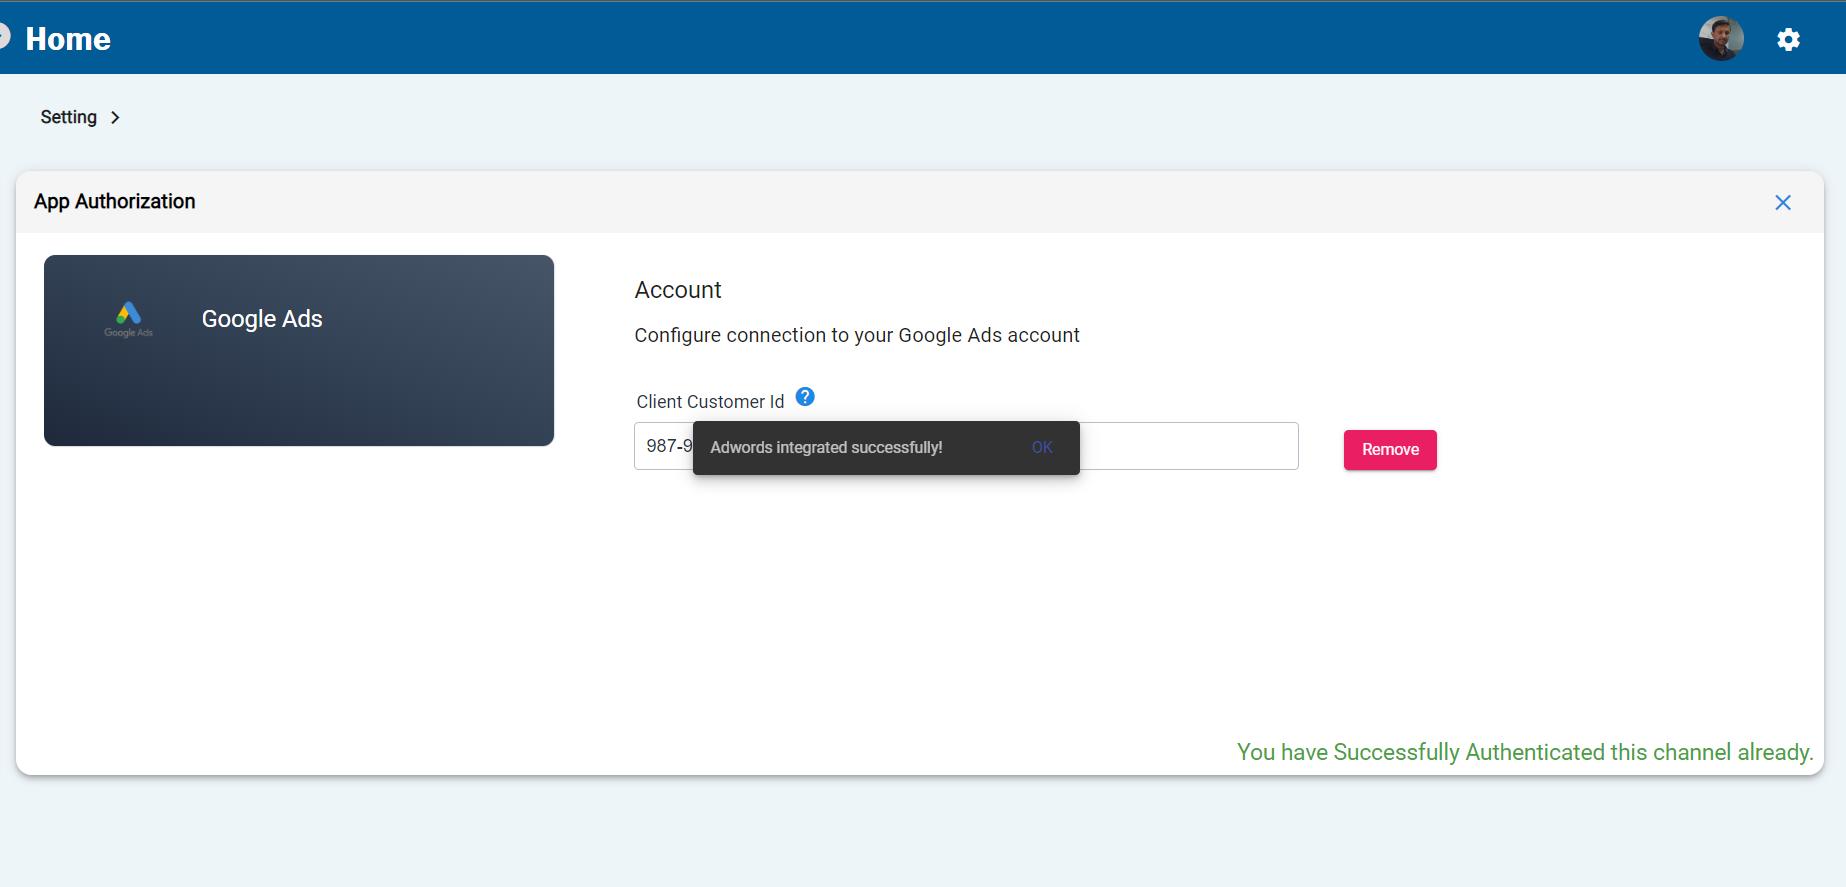
- After successful authorization, you will be redirected to the SprigHub app with the below message
- Close the window and you can see all Google Ads-related platforms are activated