
- Upgrade to GA4 from GA3(Universal Analytics)
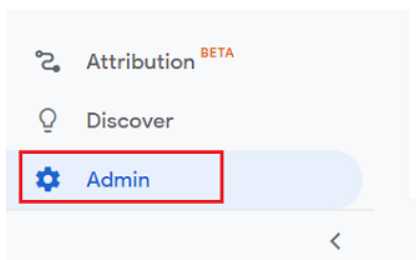
- Navigate to the admin section of your reporting view in your GA3 property.
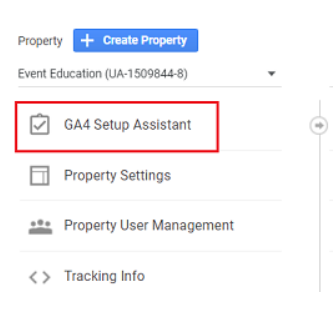
- Click on ‘GA4 setup assistant’ link in the ‘Property’ column.
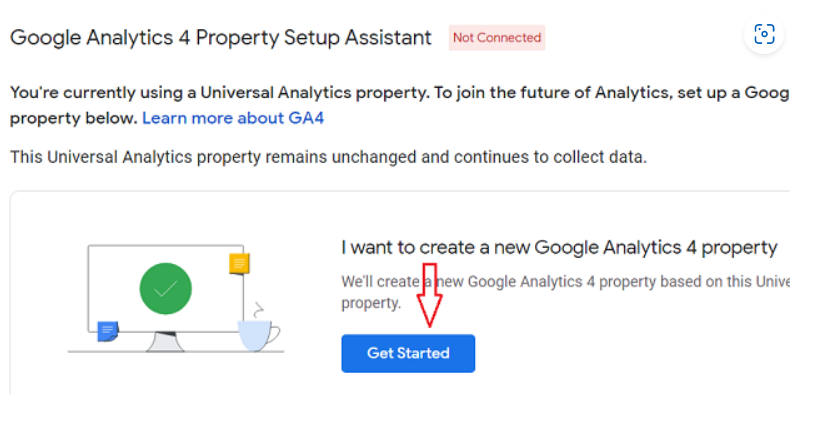
- Click on the ‘Get Started’ button under the section ‘
- Click on the ‘Create Property’ button.
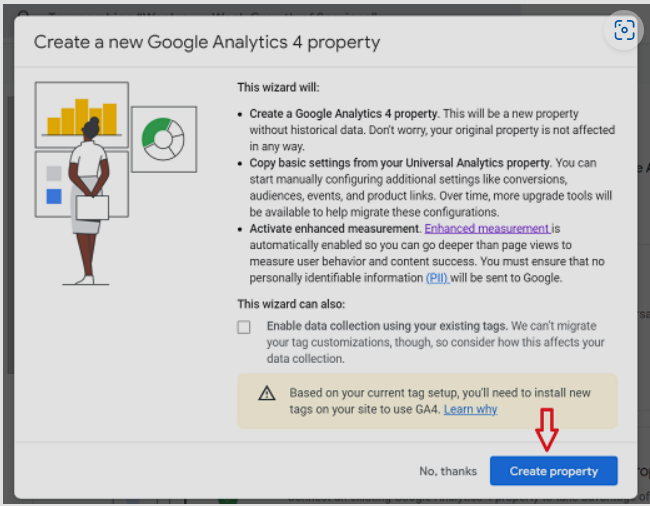
- Google Analytics will now create a new GA4 property.
The existing GA3 property will remain intact so that you will now have atleast 2 GA properties.
The Google Tag Manager(GTM), for your account needs to be configured so that the data starts flowing in the new GA4 property.
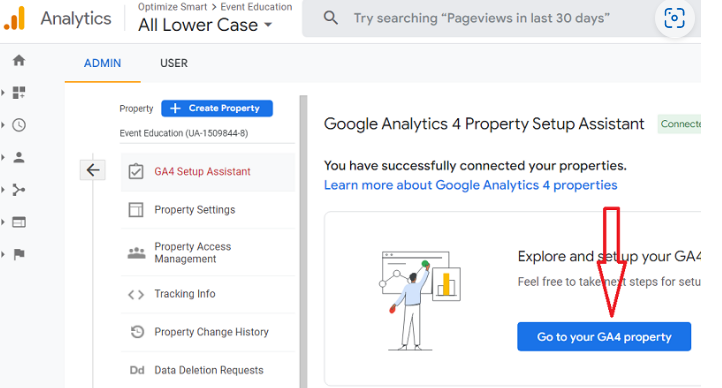
- Click on the ‘Go to your GA4 property’ button.
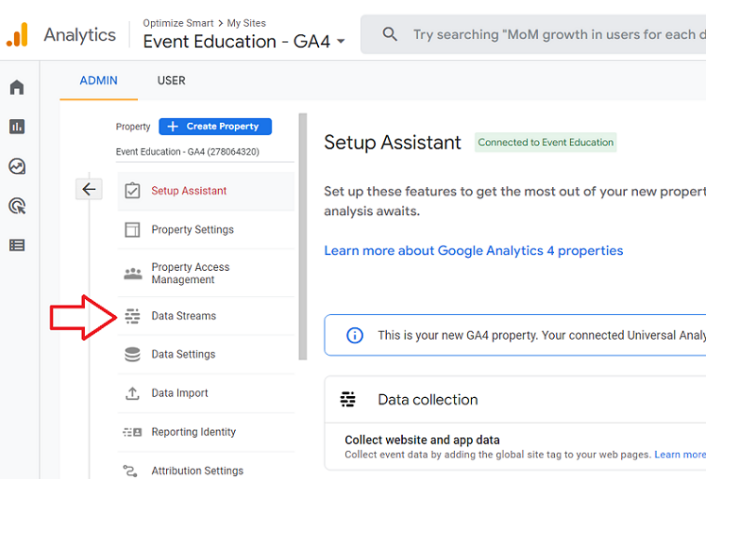
- On the new window that opens, click on ‘Data Streams’ link:
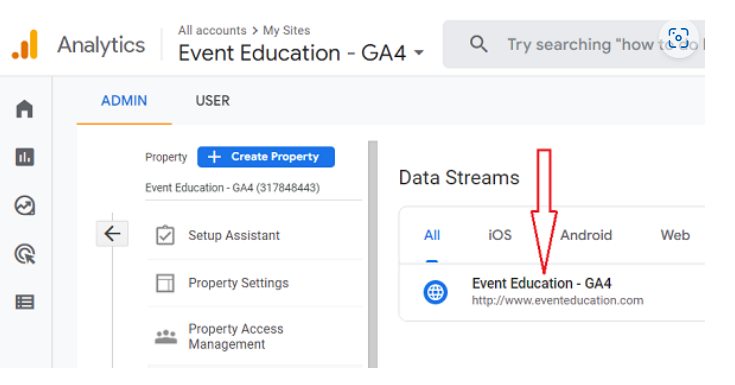
- Click on your web data stream:
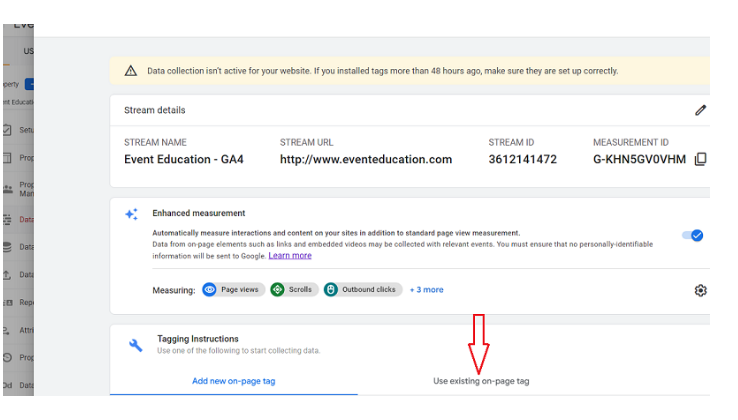
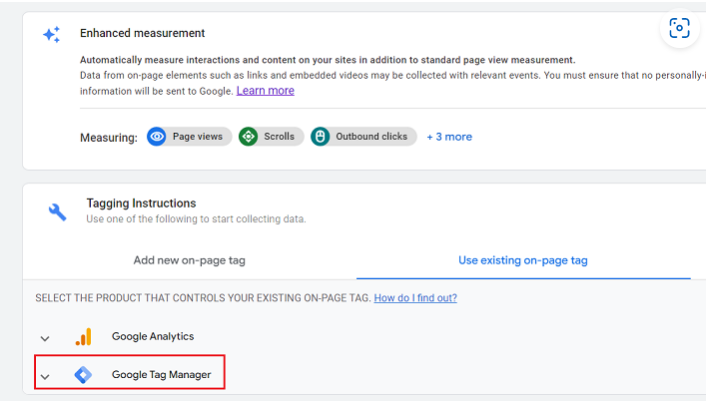
- Click on ‘Use existing on-page tag’ under the section ‘Tagging Instructions’:
- Click on ‘Google Tag Manager’ drop-down menu.
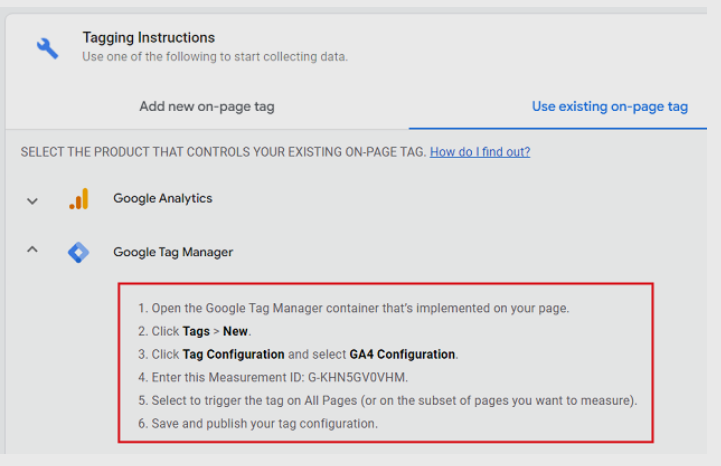
- You will now see the instructions for setting up a tag for tracking your website data in the new GA4 property via GTM:
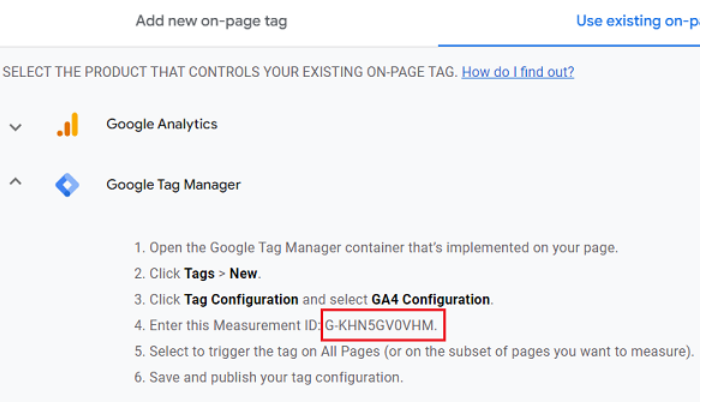
- Copy the Measurement Id in step 4 above
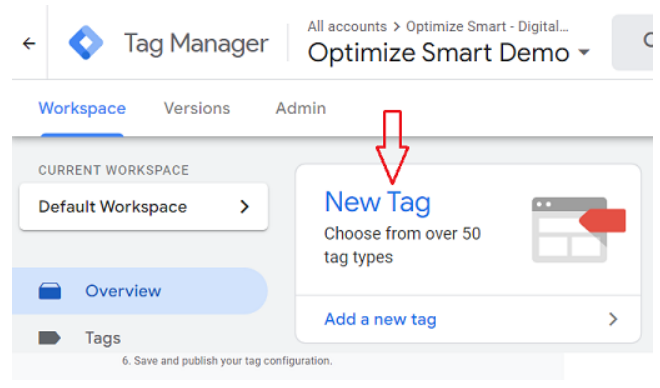
- Navigate to your Google Tag Manager Account and click on ‘New Tag’ link:
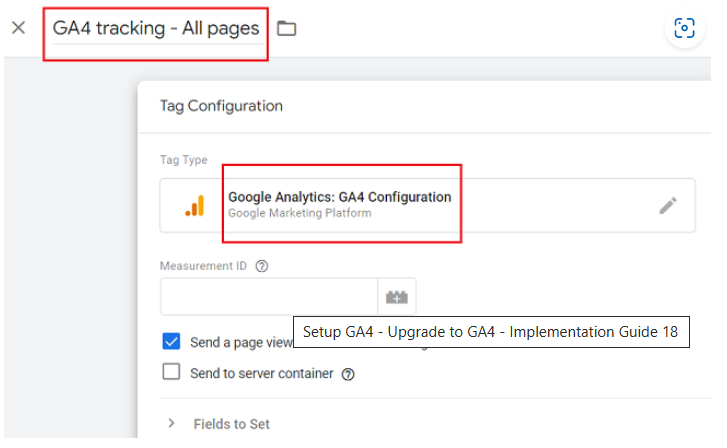
- Name your tag something like ‘GA4 tracking- All pages’ and set the tag type to
‘Google Analytics: GA4 Configuration’.
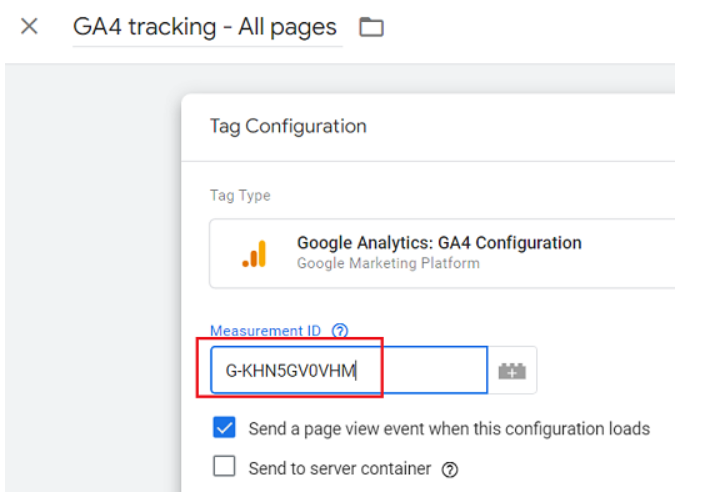
- Enter the measurement ID copied earlier in the ‘Measurement ID’ text box:
- Set your trigger to fire on all pages:
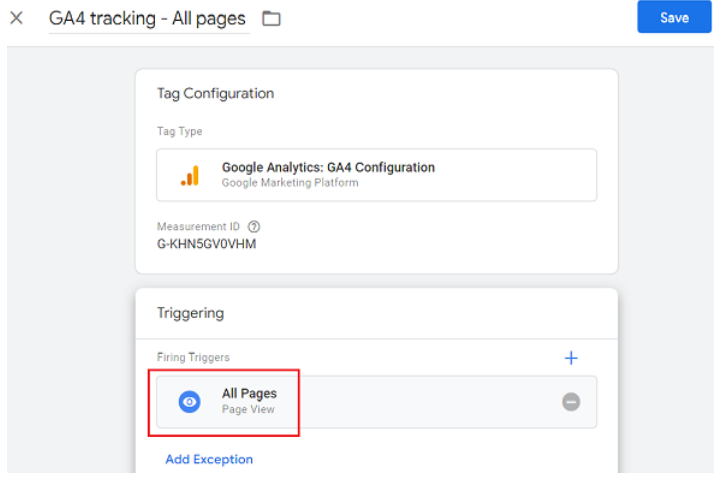
- Click on the ‘Save’ button to save your tag.
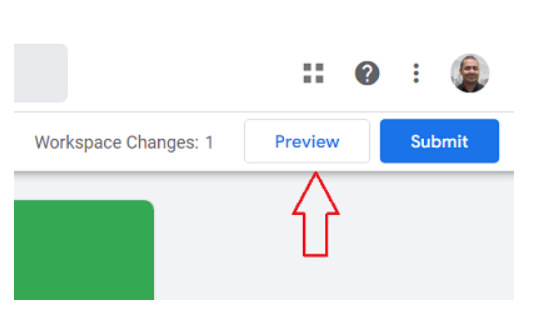
- Click on the preview button at the top right-hand side:
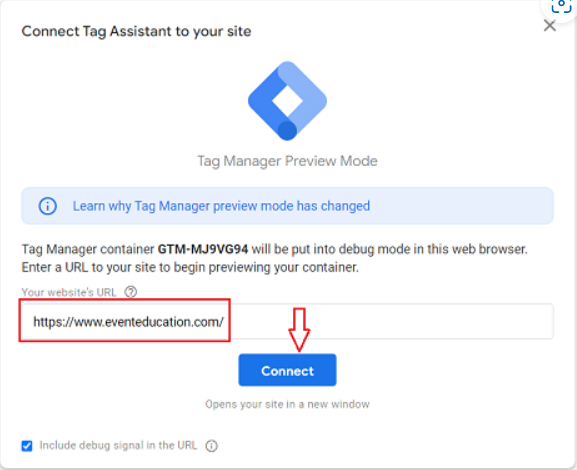
The Tag Manager preview mode will open in a new browser tab. If it doesn’t, it means your browser is blocking the window.
- Enter your website URL and then click on the ‘Connect’ button:
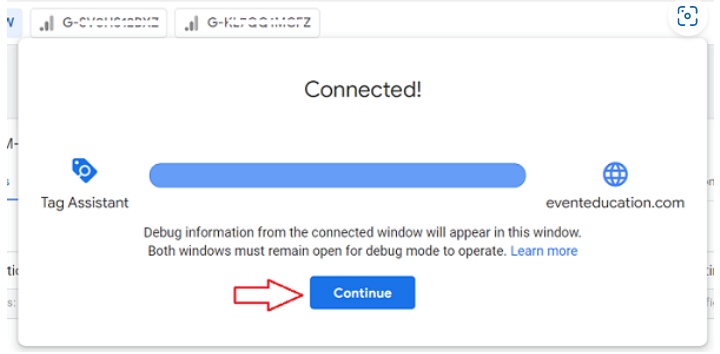
- Once you click the ‘Connect’ button, a new tab will open in your browser window, showing your website.
- Switch back to the browser tab, which shows your Tag Manager preview mode window, then on the ‘Continue’ button:
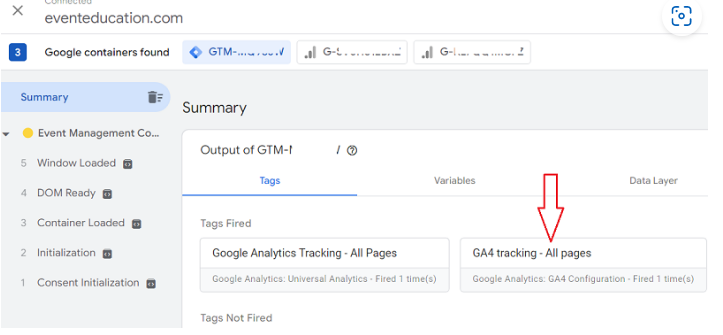
- If you see the tag ‘GA4 tracking -All pages’ under the ‘Tags Fired’ section, then it means your tag is firing correctly:
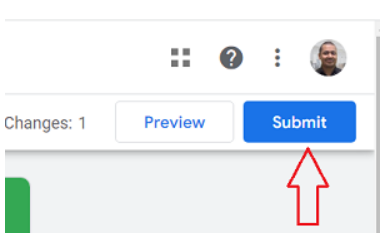
- Navigate back to your GTM account and then click on the ‘Submit’ button:
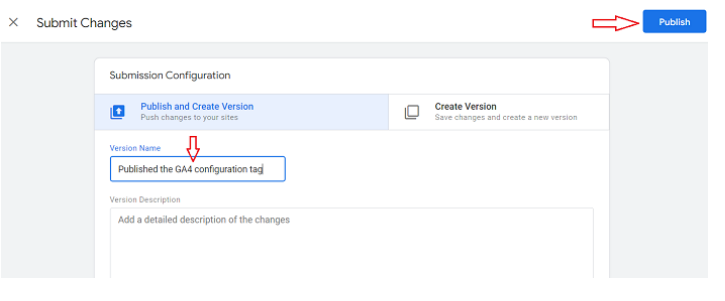
- Give your version a name and then click on the ‘Publish’ button:
- Navigate back to your website and visit a couple of pages.
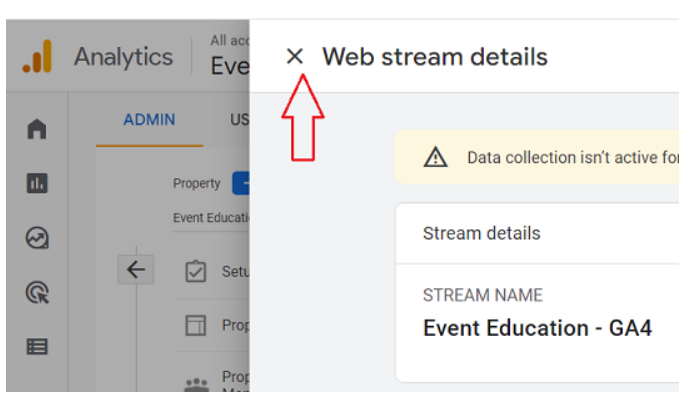
- Navigate back to your GA4 property, scroll up and then click on the cross button next to
‘Web stream details’
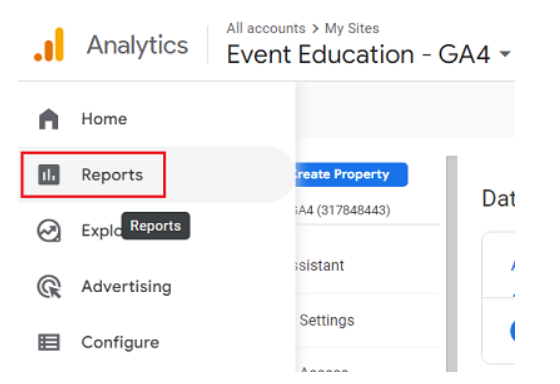
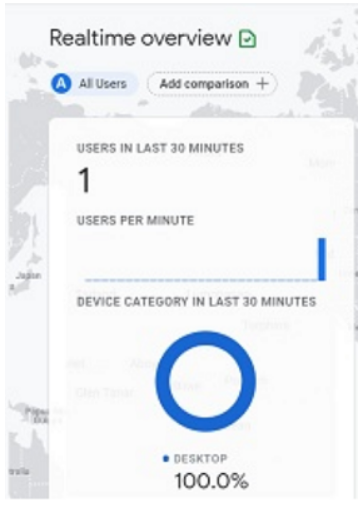
- Click on the ‘Reports’ icon from the left-hand side navigation:
- Click on the ‘Realtime’ report:
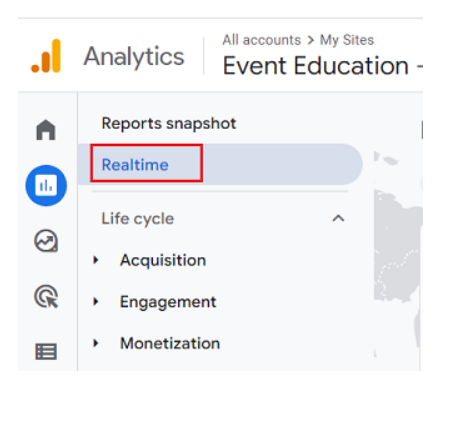
You should now be able to see new data flowing in your near-real time report:
Note: When you create a new property from within an existing GA3 property,
The GA4 property is now the default option.