
AWS S3 Bucket3-11-2021Pawan Rai |
|
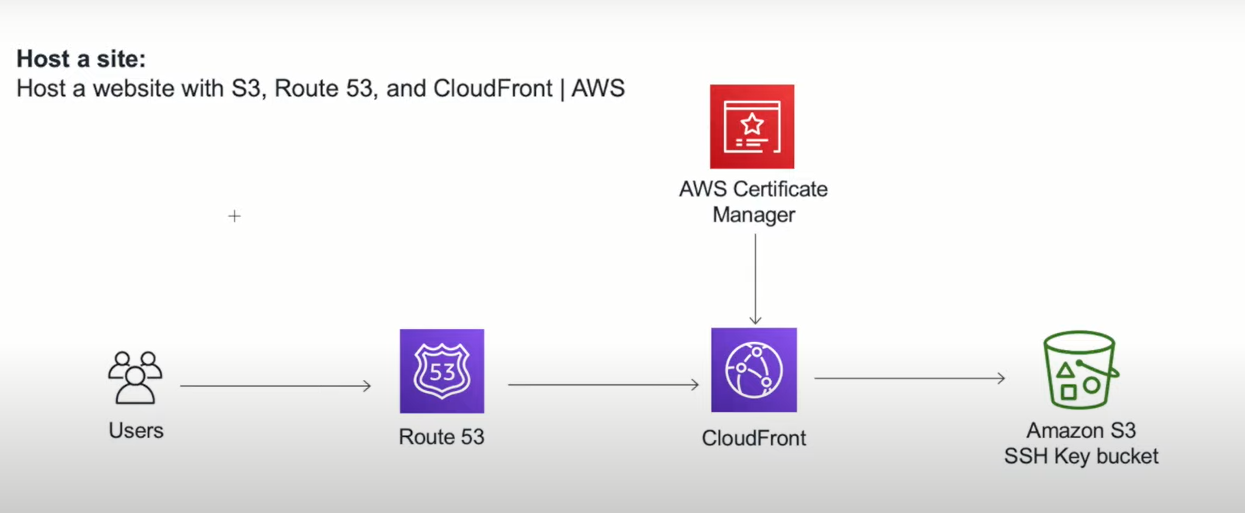
How To Host Static Website on AWS S3 Bucket
AWS S3 Provides The Facility to use S3 Buckets as The Container and Host a Static Website inside the Bucket
If We want the Bucket to connect to the Domain and have a GATEWAY through the user can access the bucket Website
we can easily access the bucket the Through the Name of Domain Below Structure help you how this will Going to Work
Requirements
- AWS Account
- Domain Access (To Update Nameserver)
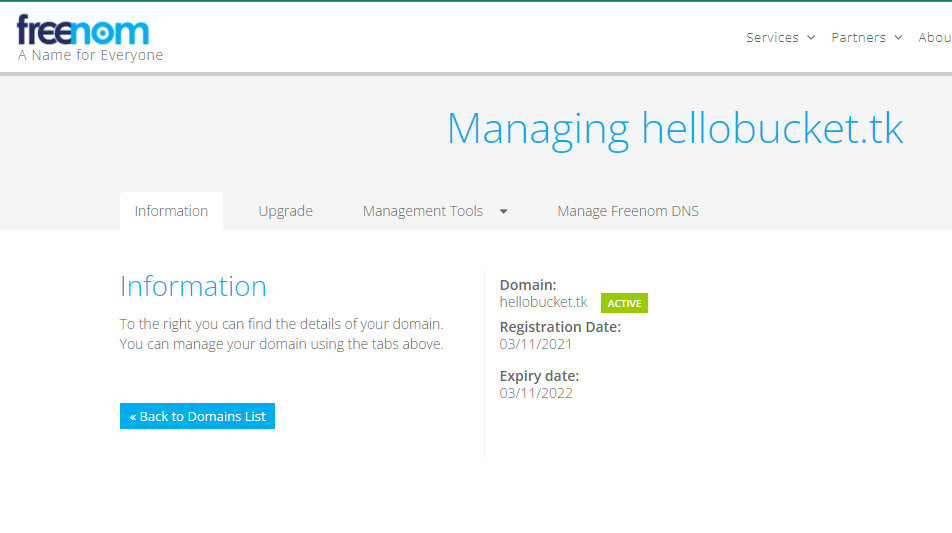
For Testing and Documentation Purpose using Free Domain and Free Tier Account
Domain Name is used is : hellobucket.tk
Part 1 : AWS S3 Static Website Deployment Bucket and Making Bucket Public for Access.
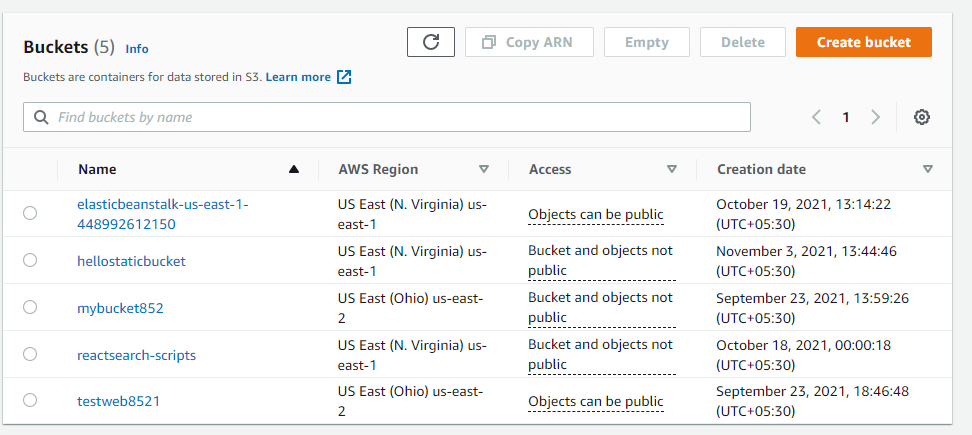
- Step 1: Login to AWS Console
- Go to S3 Bucket
- Step 2: Create a S3 Bucket & My Bucket Name is: MyStaticBucket
- Upload Website to the bucket and we have two options
- We have to make the File or index file Public
- We can make the Bucket Public (It will work)
- Create IAM Role and Attach the bucket to make in Public
- Make the Object inside the bucket Public
- Making the bucket Public is most Used Method For Static Website Hosting
- Go to Permission and Edit the Public access
- Clear Block all public access, and choose Save changes.
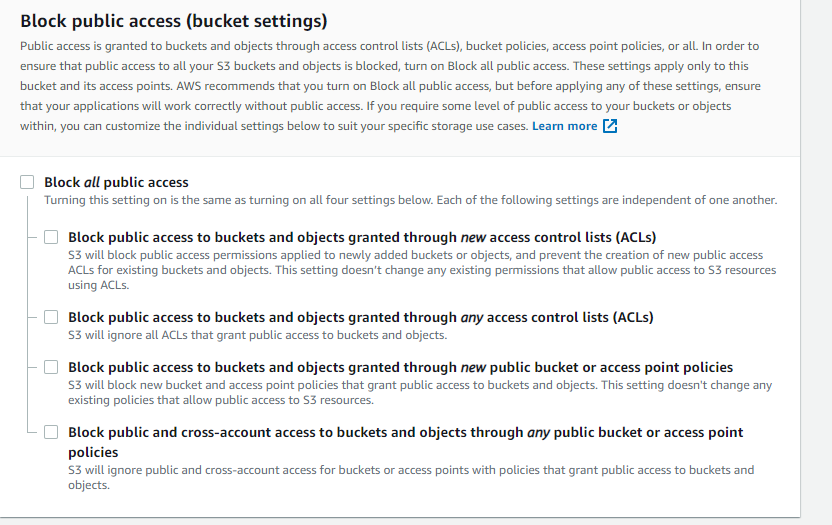
- Click Save Changes and Confirm
- Go to Bucket Policy and Edit the Policy
Use This Bucket Policy
- {
- “Version”: “2012-10-17”,
- “Statement”: [
- {
- “Sid”: “PublicReadGetObject”,
- “Effect”: “Allow”,
- “Principal”: “*”,
- “Action”: “s3:GetObject”,
- “Resource”: “arn:aws:s3:::hellostaticbucket/*”
- }
- ]
- }
- It will make Your Bucket Publicly Accessible and Through Link of the object You are able to access Website Easily.
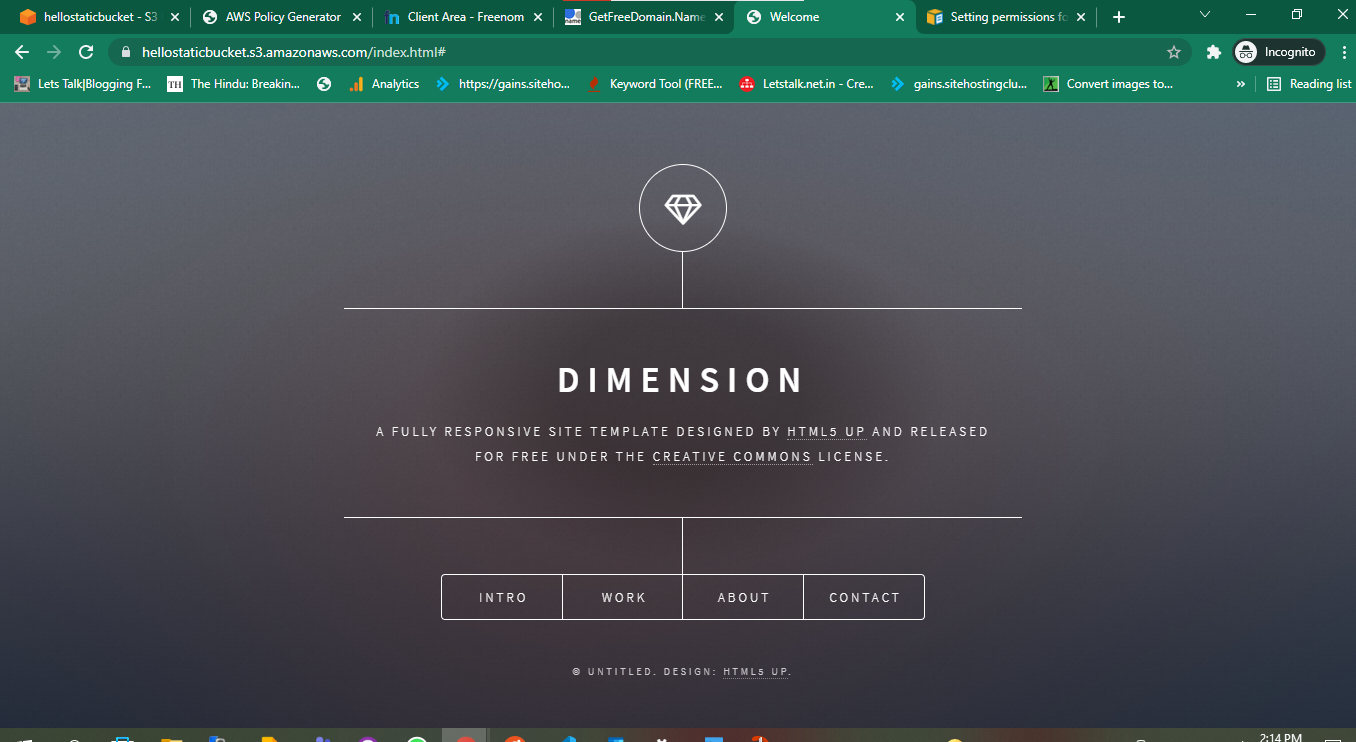
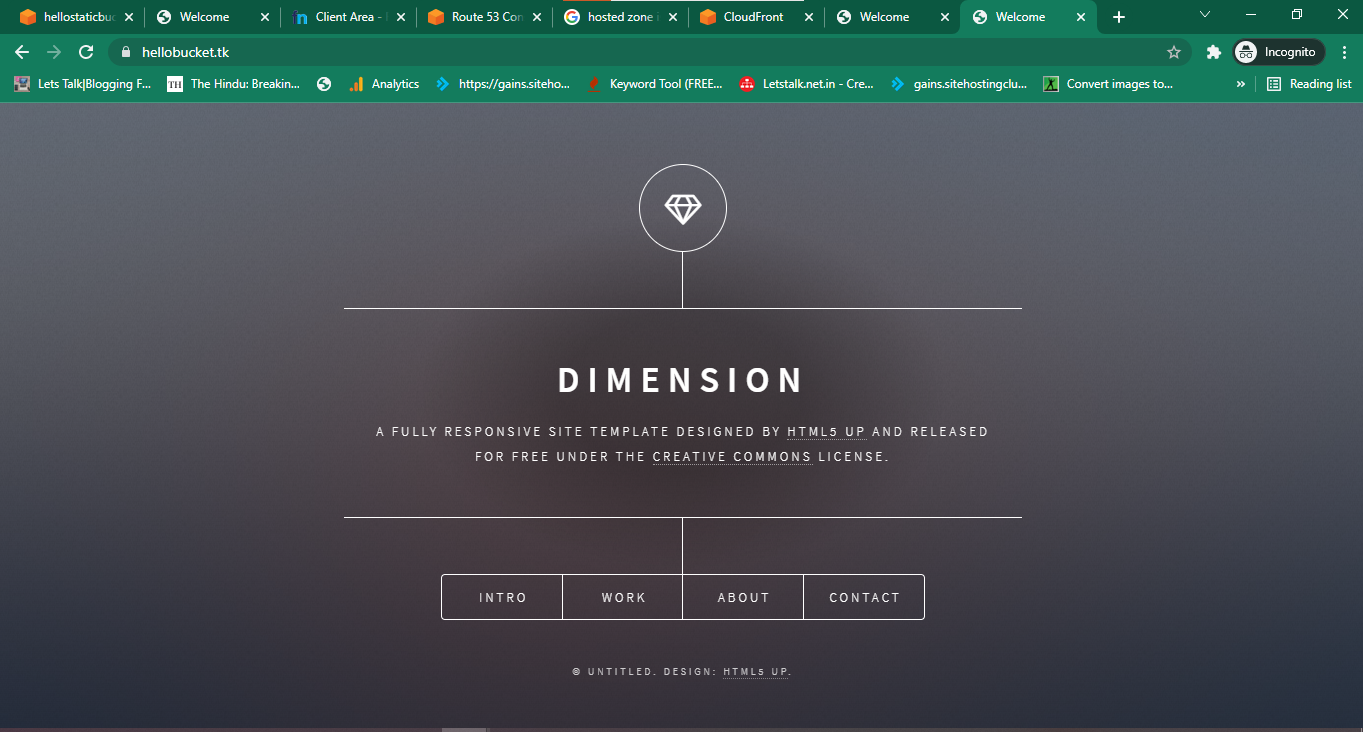
- Website Which I Created and Uploaded to S3 and Acccess through the object link From S3.
- Last Step >> Go To Bucket Properties and At the Bottom of Page You will Find

- Edit the Session
- Make Following Changes
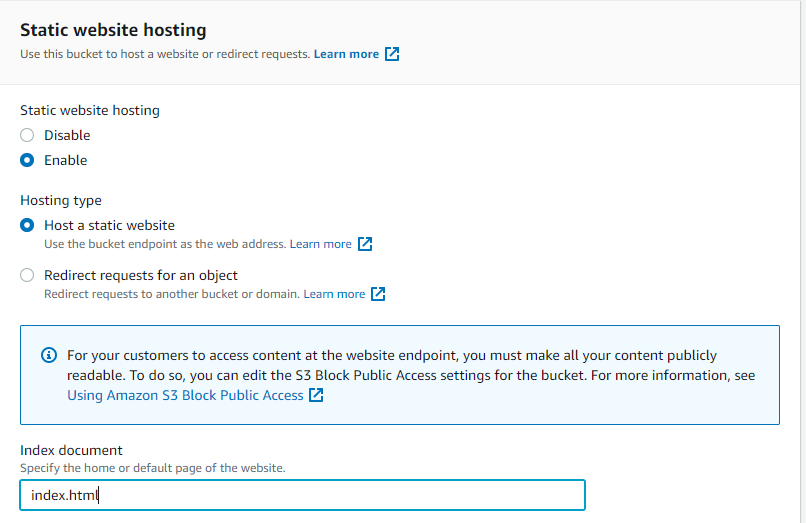
- Save Changes and Its Good to Go.
Bucket Link Can be Directed To Route 53 For The Domain Name Access.
Part 2.
Going To Connect the Bucket to the Domain Name From Which User Reach out to Domain name to Reach Bucket Hosted Website
Step: 1
Make Route 53 Ready Through which user can access website
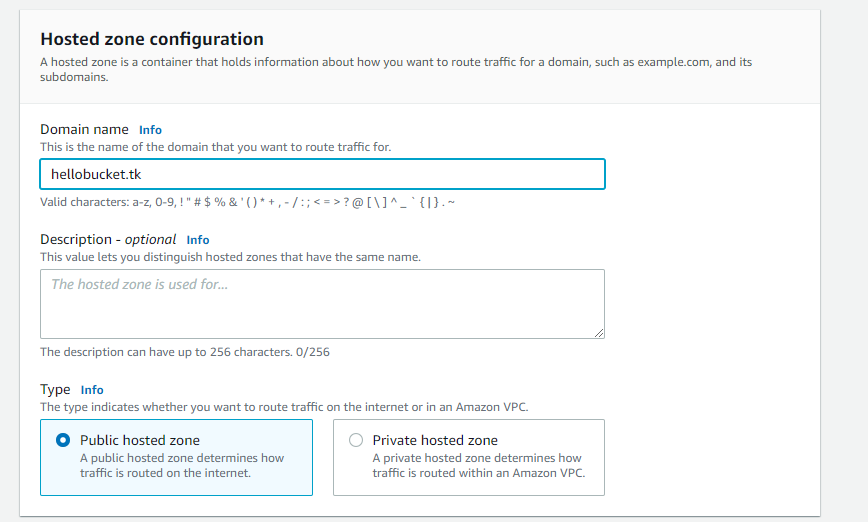
- Go to Route 53 in AWS Console
- Create a Hosted Zone
- Enter the Domain name and Click create the Hosted Zone
- Click on First Record and Copy NameServer Values and Upload inside the domain nameserver
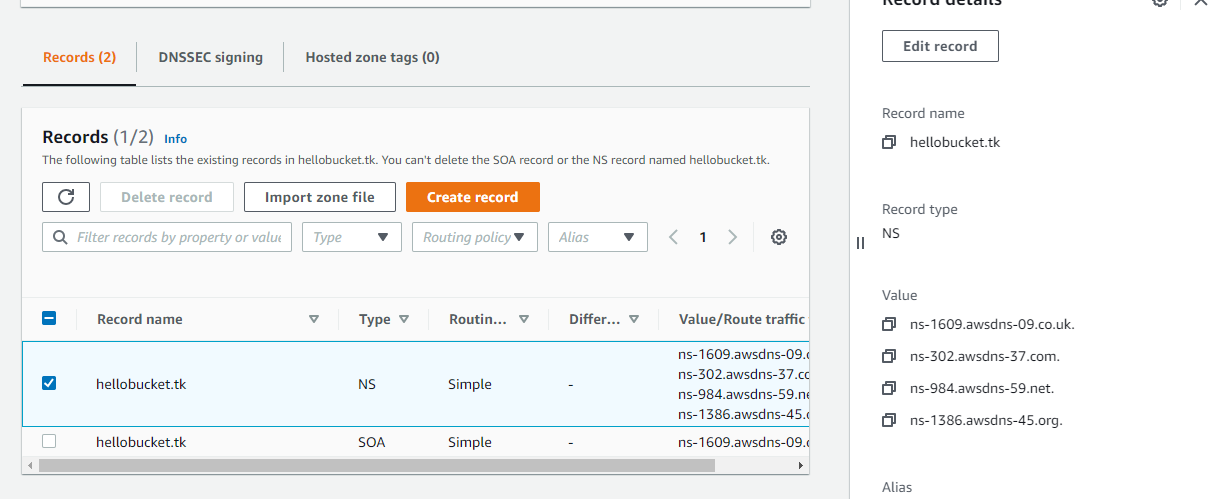
- Copy Here and Paste it at Domain Provider Domain name
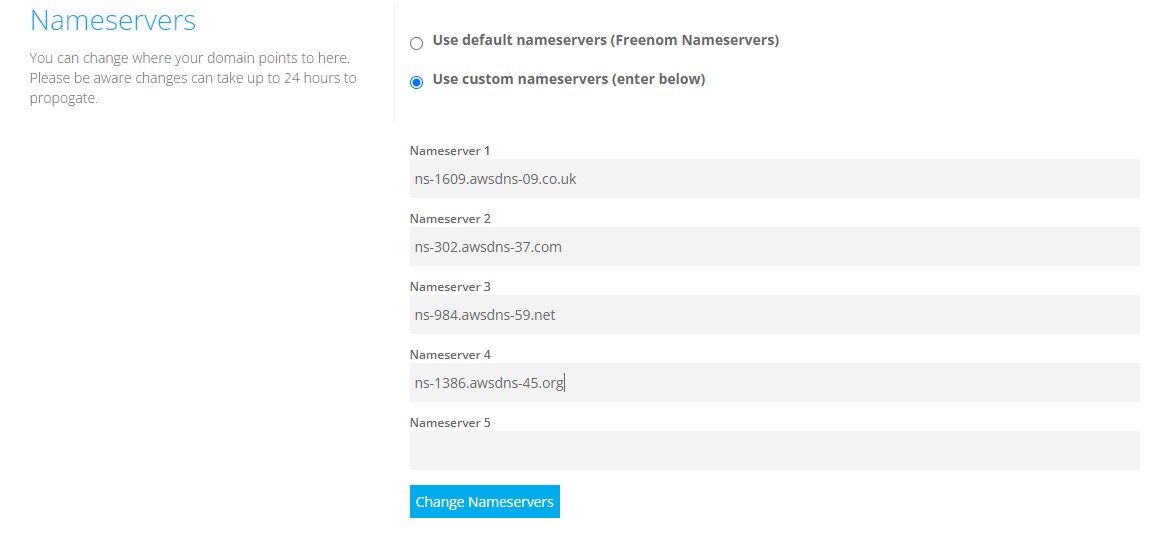
- Click on Change Nameservers
- Route 53 Completed
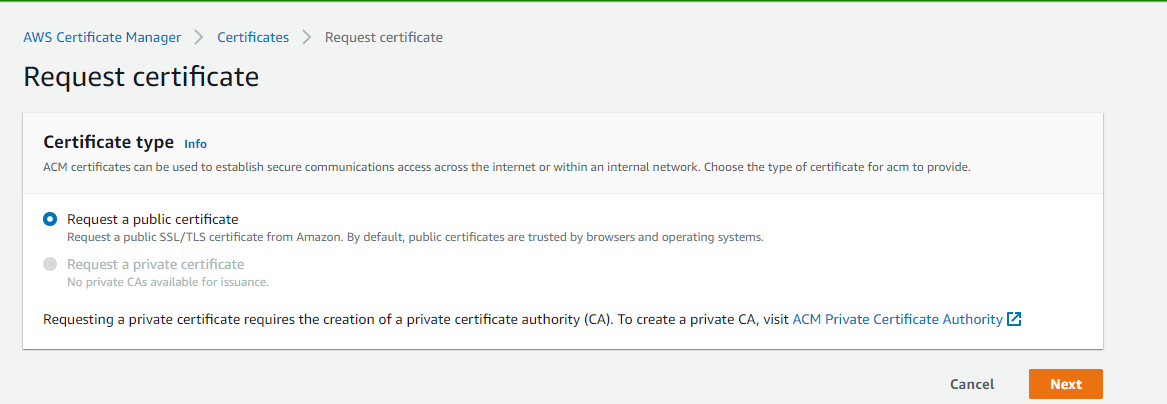
Part 3: Go To Certificated for SSL Certificates in AWS
- Request a Certificate >> Select Public Certificate
- Enter the Domain Name and Select the DNS Verification
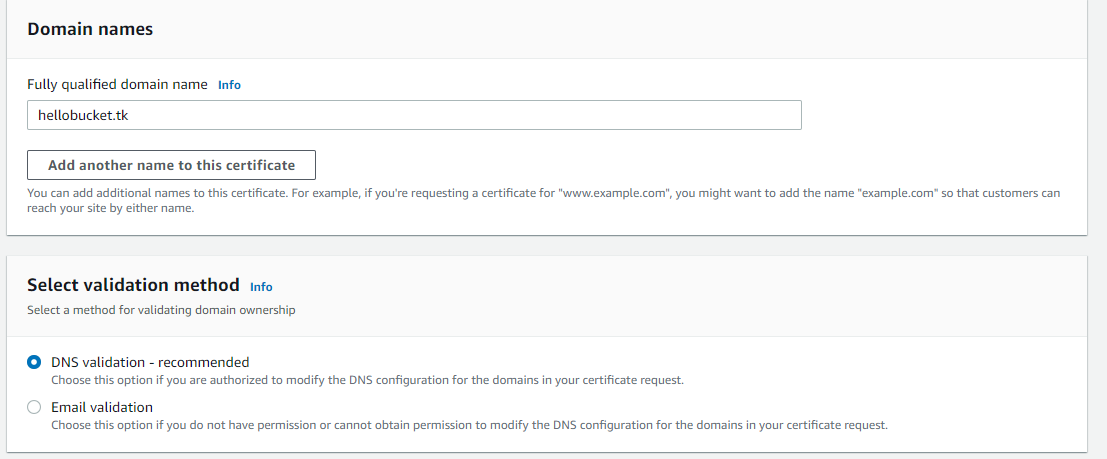
- Click Request the Certificate
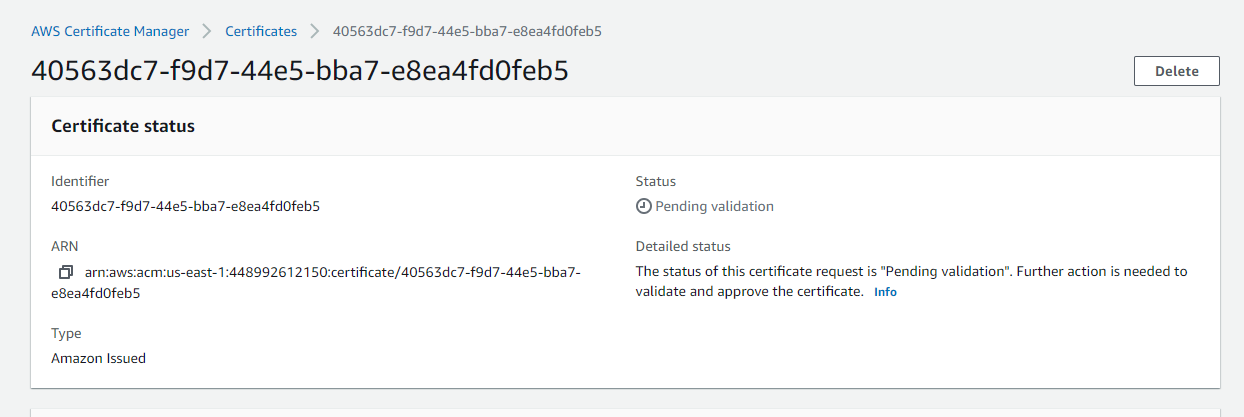
- Go inside the Certificate and Click on Create a record in Route 53

- Wait until the status goes Successful
Part 4:
Go To CloudFront and Attach Everything which we Created in Previous Step
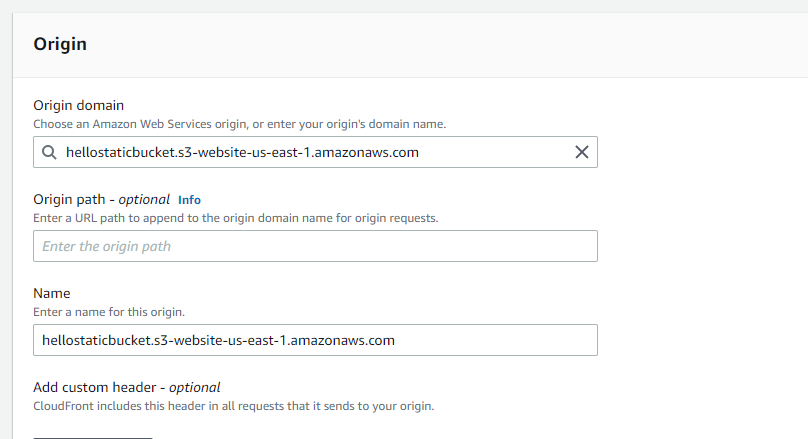
- Go to CloudFront
- Click on create a Distribution
- Provide the Bucket URL without http://
- Like Image Below
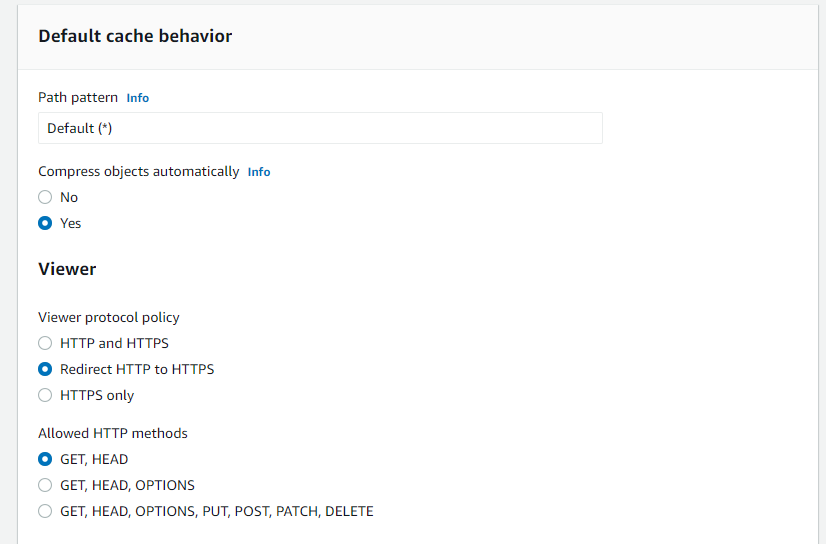
- Change Default Cache Behavior from (Like This)
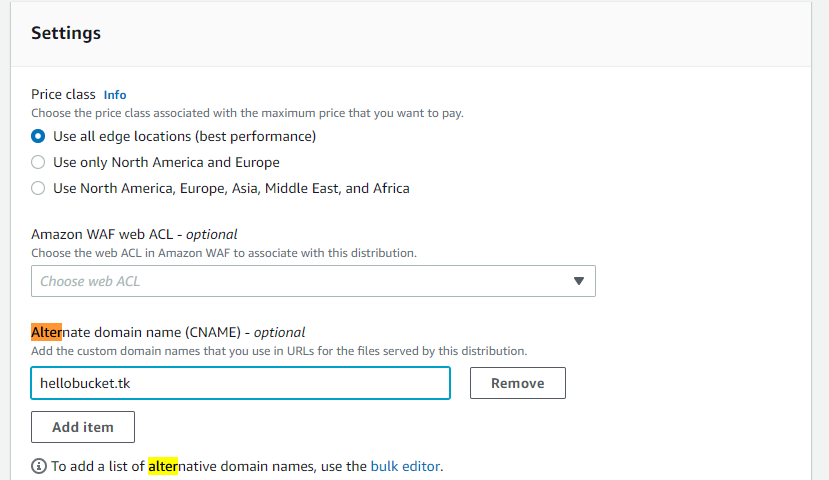
- Go to Setting and Alternate Domain name as Below
- Under SSL Click on custom SSL
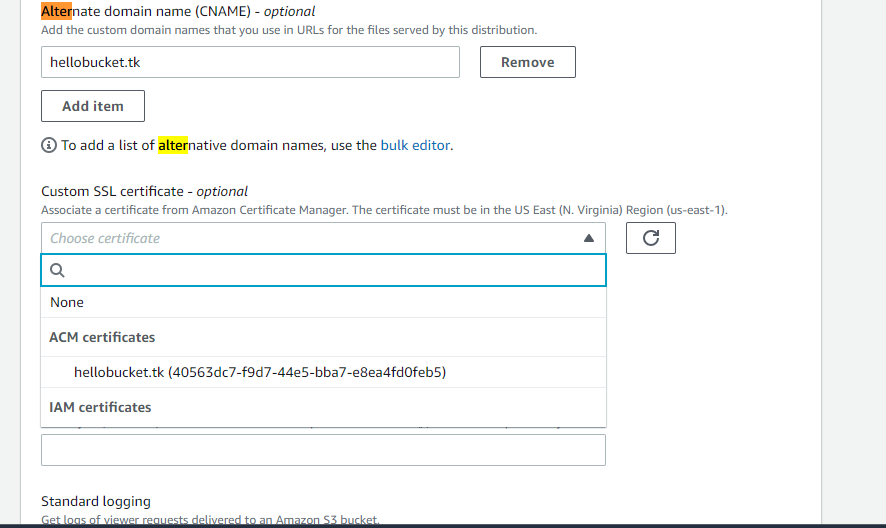
- Select Certificate which we Created
- Leave every option as same it was and click on create
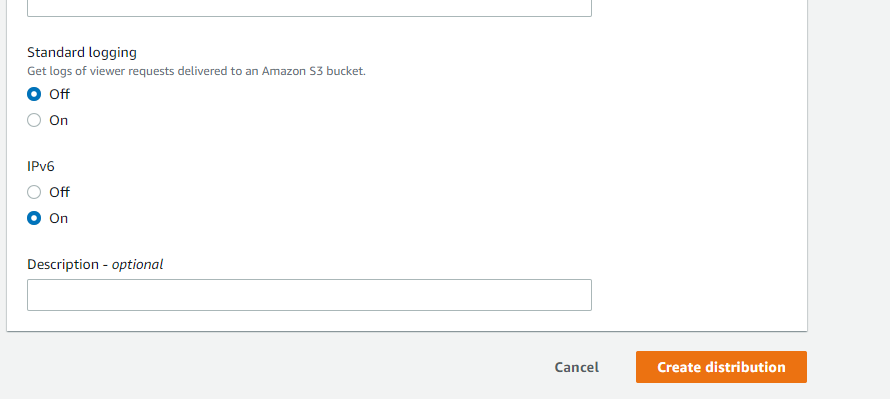
- Wait for Deployent status change

Last Step:
Connecting the Route 53 and CloudFront
-
- Copy the link which Distribution domain name
- Verify first the link is Reachable to You S3 Bucket website.
- Copy the link which Distribution domain name

-
- Go to Route 53 and Add a Record
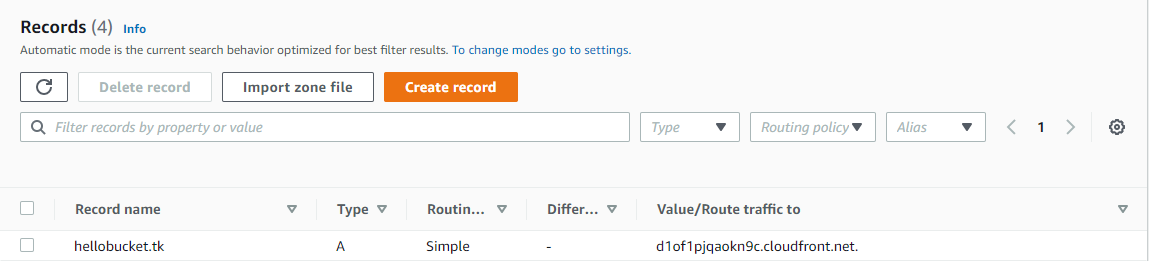
-
- Check the Domain Working or not by visiting
Note:
Every Resource which we create are only for testing Purpose and Delete As same After the Documentation
Used a Free Tier Account for AWS and https://my.freenom.com/ for Free Domain for Testing.